simulator build
How I Built My Own Racing Sim Rig (And What I’d Recommend Today)
Disclosure: This post may contain affiliate links. If you purchase through these links, I may earn a small commission at no extra cost to you. I only recommend products I personally use and believe will bring value to my readers.
Here’s my rig designed in CAD using extruded aluminum framing.
From Concept to Creation
When the COVID-19 lockdowns hit, like many others, I found myself with more time at home and a growing itch to work on personal projects. As an engineer, I had the perfect opportunity to dive into something I had been wanting to do for a while: design my own racing sim rig.
With the world on pause, I fired up Creo Parametric (CAD) and started designing my ideal setup — one that would deliver real-world immersion, solid ergonomics, and future-proofing for serious sim racing. Fast forward 2 years later: during my paternity leave, I finally had the time to build it.
Below you’ll find a list of everything I used and some recommendations.
From 3D concept to reality. Pictured here using my passenger side seat of my FRS.
1. Sim Racing Hardware
I originally started with the Fanatec CSL Elite Racing Wheel and Pedal Set clamped to an end table. That entry-level setup, featuring a belt-driven force feedback system, delivered solid performance and was more than enough to get me hooked — and for most drivers, it’s still a very capable starting point. My main goals for my rig was to use it as a training tool. Being a new parent and in a state where tracks are closed 5-6 months of the year, I needed a way to easily practice and to also learn the new mid-west tracks that I’ve never driven.
In this build, I wanted to push beyond "good enough" and aim for increased immersion and precision. In sim racing, your primary sensory input comes from the feedback in your hands and what’s in front of your eyes. Upgrading to Fanatec’s Direct Drive base gave me a massive leap in fidelity — it delivers torque instantly and without the mechanical dampening you get from belts or gears.
I was also able to reuse my original CSL wheel rim to save on cost, since Fanatec’s modular ecosystem makes that upgrade path seamless. For visuals, I added a 49” curved ultrawide monitor with a 240Hz refresh rate and 1ms response time, providing a wide field of view and virtually no motion blur — essential for maintaining spatial awareness at high speed. You’ll find the full parts list and links to everything I used below.
| Item | Description | Link |
|---|---|---|
| Wheel Base | Gran Turismo DD Extreme Wheel Base (15 Nm) | Buy on Fanatec |
| Pedals | ClubSport Pedals V3 | Buy on Fanatec |
| Pedals Upgrade 1 | ClubSport Pedals V3 Damper Kit | Buy on Fanatec |
| Pedals Upgrade 2 | ClubSport Pedals V3 Brake Performance Kit | Buy on Fanatec |
| Monitor | Samsung 49" Odyssey G9 (LC49G97TSSNXDC) | Buy on Samsung |
2. Gaming PC
When it came to the PC, I wanted a system that wasn’t just built for sim racing, but one that could handle demanding workloads well into the future. I spec’d it with longevity and versatility in mind — powerful enough for high-end sim titles like iRacing and Assetto Corsa, but also capable of running professional applications like Creo Parametric for CAD and Artec Studio for 3D scanning. It’s definitely overkill if you’re just looking to get started with sim racing, and there are much more budget-friendly ways to build a capable setup.
One thing I don’t recommend copying: the tower case I used. It ended up being too cramped for the hardware and airflow I needed. If you're building something similar, go with a larger case that gives you plenty of space to work with and room to grow.
| Item | Description | Link |
|---|---|---|
| CPU | Intel® Core™ i9 (16 cores, 3.2 GHz) | Find on Amazon |
| Cooler | AIO Liquid Cooler | Find on Amazon |
| Motherboard | ASUS ROG Maximus Z690 | Find on Amazon |
| GPU | EVGA GeForce RTX 3080Ti FTW3 | Find on Amazon |
| RAM | Corsair Dominator DDR5 32GB | Find on Amazon |
| Storage | Samsung 970 EVO Plus 1TB NVMe SSD | Find on Amazon |
| Case | Corsair 4000D Airflow | Find on Amazon |
| Power Supply | CORSAIR HX850 850W | Find on Amazon |
| Operating System | Microsoft Windows 10 Home, 64-bit | Find on Amazon |
Note: This build is intentionally overpowered for sim racing alone — it’s designed to double as a CAD and 3D scanning workstation. You definitely don’t need all this horsepower just to enjoy iRacing or Assetto Corsa, but if you're planning on multitasking with engineering tools or 3D software, this kind of spec can pay off in the long run. Just don’t make my mistake — go with a larger tower case for better thermals and easier assembly.
3. Sim Rig
I originally designed the chassis in CAD using 40-series aluminum extrusions to allow for full modularity. If you’ve ever worked with aluminum extrusions, you know — it’s basically LEGO for adults. You can build nearly anything with it, and the adjustability is a huge plus for fine-tuning ergonomics. This first version didn’t include an H-pattern shifter or handbrake, but I designed it with future upgrades in mind.
But here’s the catch: even in 2022, just the extrusions alone cost over $600 — and that’s before adding in all the required hardware like T-nuts, bolts, brackets, and mounting plates. By the time everything was accounted for, I was nearly $1,000 deep just for the frame.
My advice? Don’t go this route unless you genuinely enjoy building things from scratch. For most people, buying an off-the-shelf sim rig will save a ton of time, effort, and even money. My go-to recommendation: a Trak Racer chassis — it’s rock-solid, upgrade-friendly, and far more affordable when you consider the full cost of DIY.
| Item | Description | Link |
|---|---|---|
| DIY 8020 Rig | Custom CAD-Designed Rig made with 40-series aluminum extrusion | Buy T-Slot Material at 8020.net |
| Components Included | Various profiles: 40x80 Lite, 40x40 Lite, 40x120, plus solid aluminum plates for panels | Buy T-Slot Material at 8020.net |
| Full BOM Cost (Materials Only) | ~$607.04 | Hardware (nuts, bolts, brackets) not included |
Note: You’ll also need a seat and a way to mount it. I initially repurposed the passenger seat from my FRS, which worked great. But when it came time to put that seat back in the car, I swapped in the Sparco racing seat from my Supra — which was still mid-build at the time, so it wasn’t going anywhere. Of course, you can also get your racing seat from Trak Racer as well.
My two favorite options from Trak Racer are:
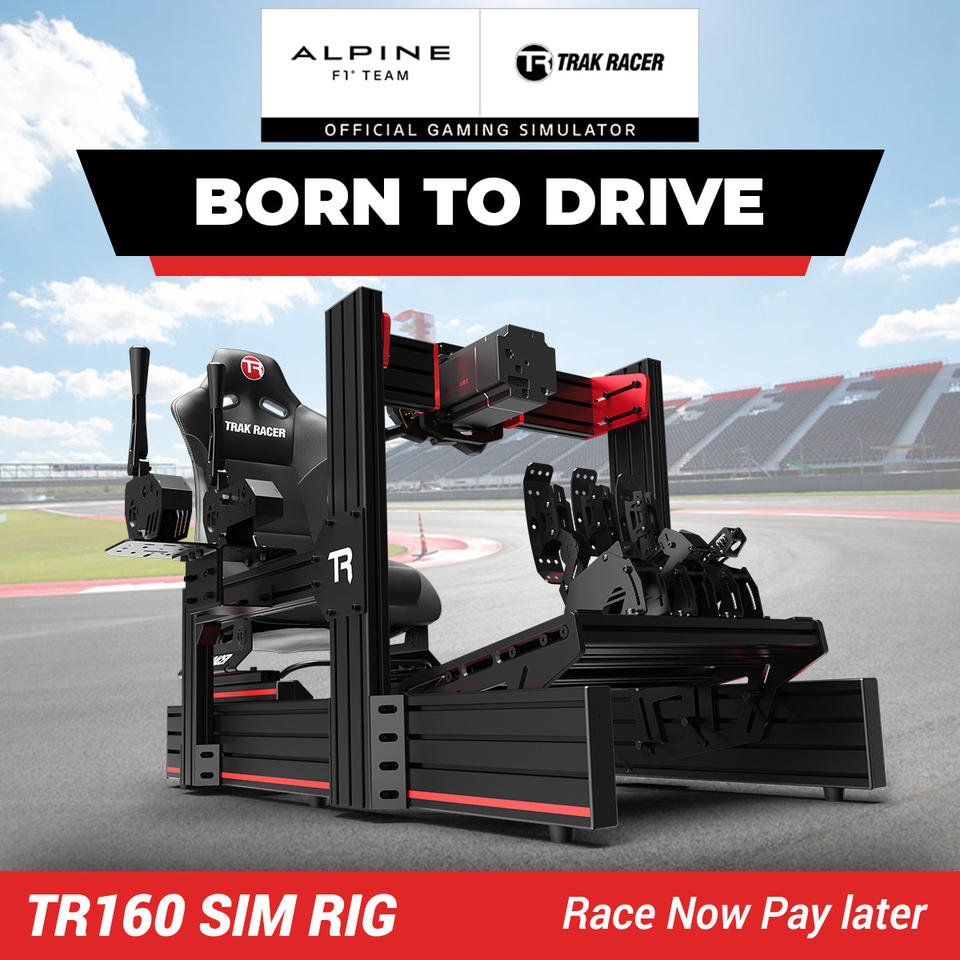
TR160S V2 Racing Simulator - Extremely rigid construction utilizing aluminum extrusions with a wide design to fit all bodies. It includes a base to fit the Fanatec DD, seat slider rails, and heavy duty hardware.
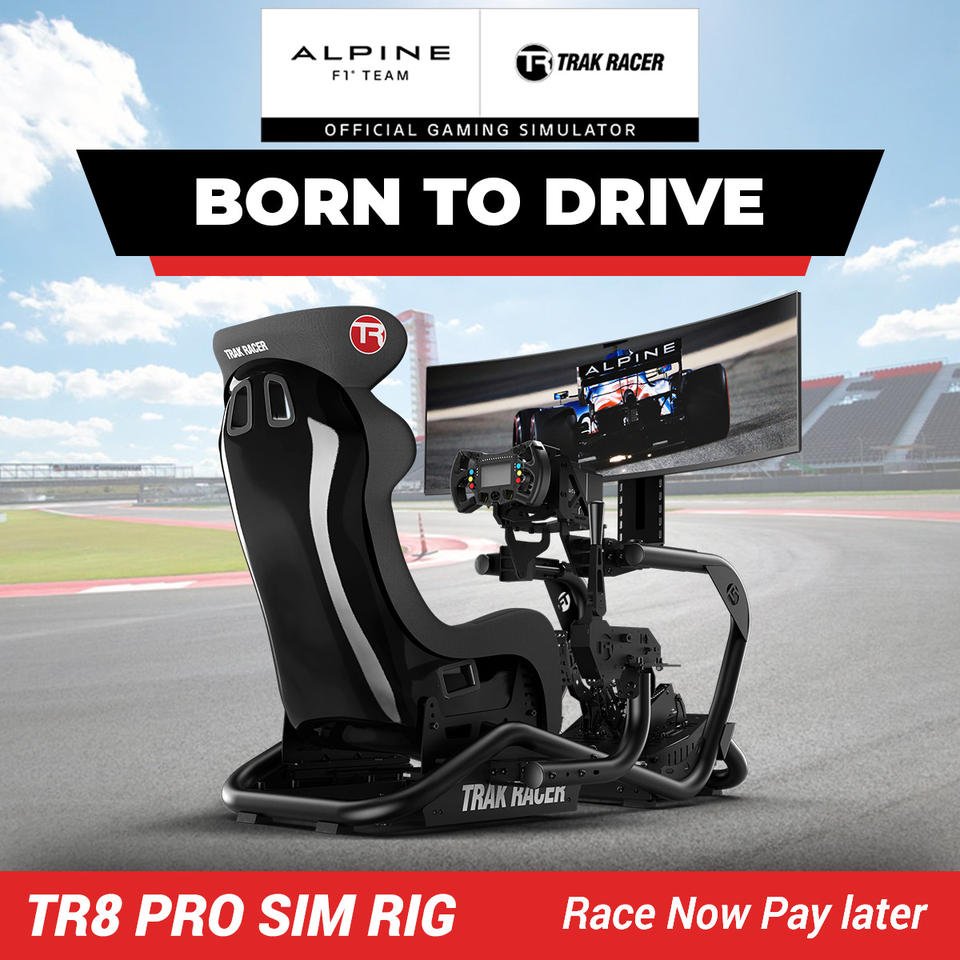
2. TR8 PRO Racing Simulator - If you like more of the flowing, tubular bent piping look, this is the setup for you. Very rigid, and even easier to assemble than the aluminum extrusions. Includes mounts and hardware for wheel base, seats, and gear shifter.
✨Final Thoughts
Getting into sim racing doesn’t have to mean going all-out from day one. I started with gear clamped to a side table and still had a blast. But as with any hobby, the deeper you go, the more you appreciate the upgrades — the sharper feedback, the immersive visuals, and a setup tailored just for you. Whether you're building your first rig or refining your setup after years of racing, the most important part is that it works for you.
Have your own sim rig build or tips to share? Drop them in the comments — I’d love to see how others are getting creative with their setups. And if you're just starting out and not sure where to begin, feel free to ask questions. I’ll do my best to help out, and who knows — your question might spark the next post.
If any of the gear mentioned here caught your eye, I’ve included links to everything below (some of which are affiliate links that help support the blog). Thanks for reading — and I’ll see you out on track, virtual or not.
My daughter at 1.5yrs old enjoying the Sim Rig.


