
One of the things I had been meaning to do for quite some time was give the FR-S a proper detail.
Back in my younger years, I used to detail cars, so this wasn't exactly unfamiliar territory. Over the years, I've accumulated a fair amount of detailing equipment, including two dual-action polishers: a FLEX XC3401 and an old-school Porter Cable 7424.
Despite having the equipment and experience, I had never actually given the FR-S a proper paint correction.
And it was certainly overdue.
During the height of my track day activities, washing the car was pretty low on my list of priorities. I'd often come home from a track day, park the FR-S in the garage with all my gear still packed inside, and leave it that way until the next event. Other than whatever preparation or maintenance was needed between events, the car was pretty much ready to go again.
Needless to say, the paint wasn't getting much attention.
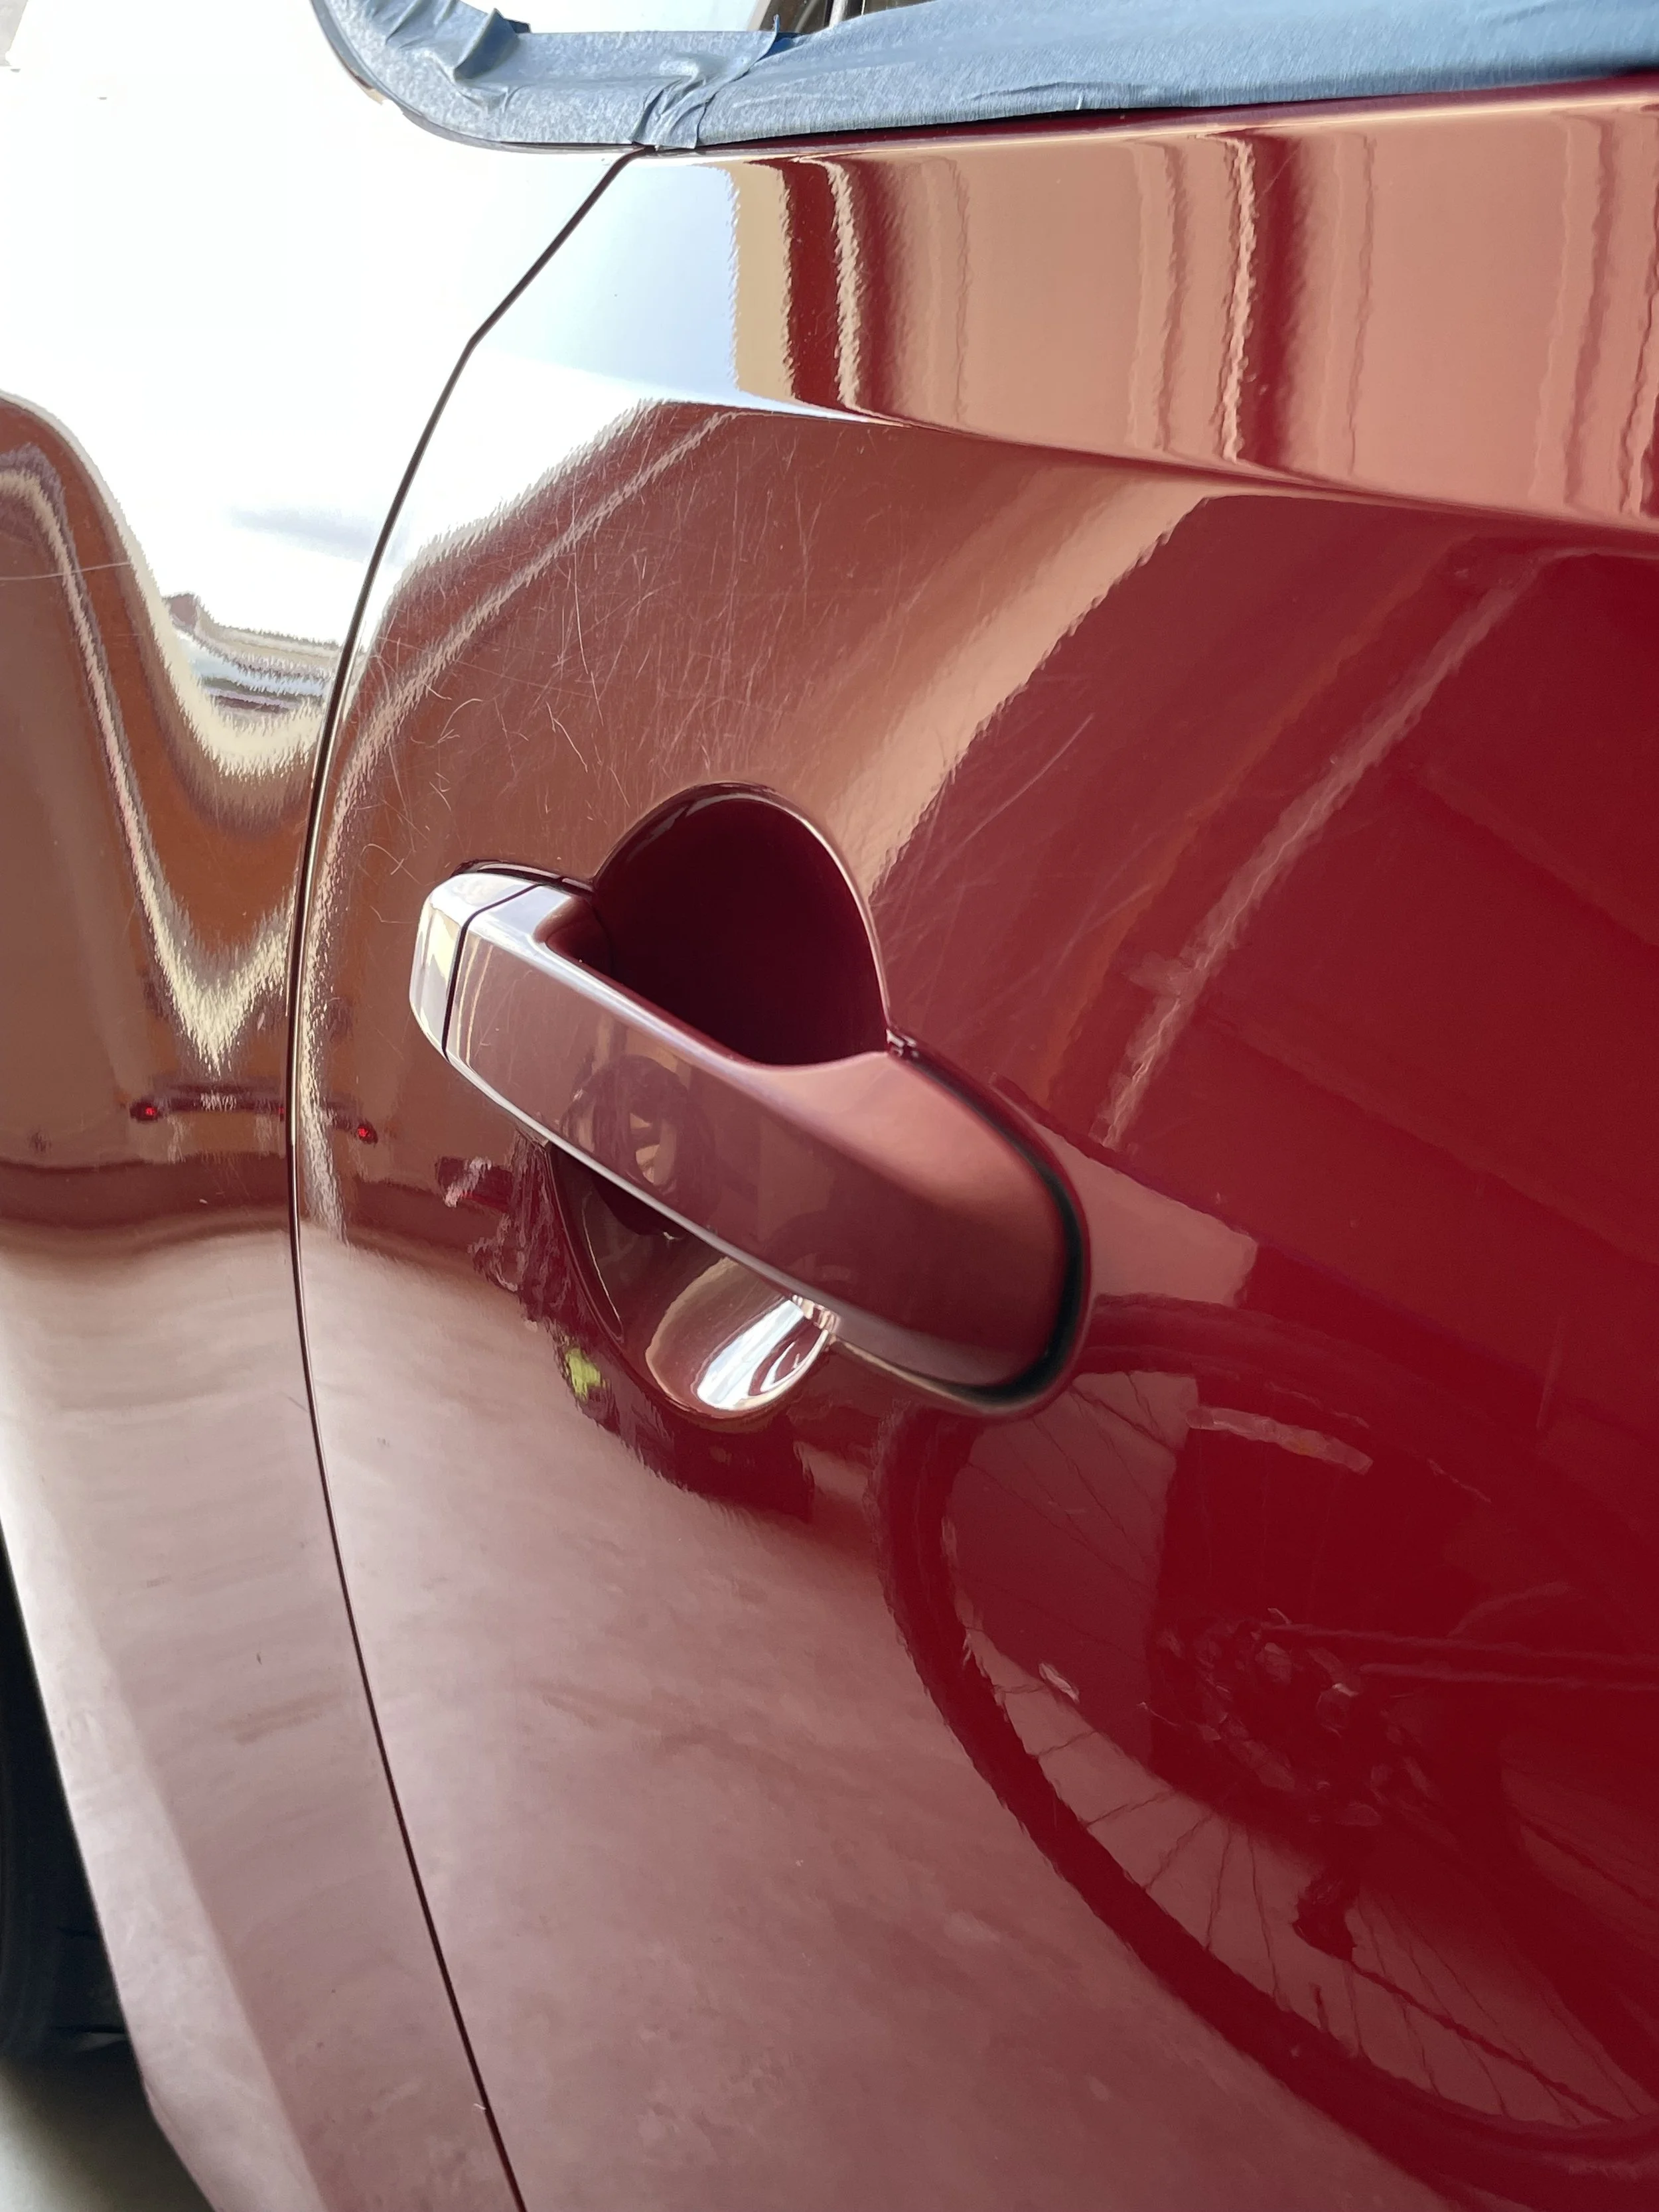
Years of use had left their mark, with plenty of swirl marks, fine scratches, and surface contamination. From a distance, the car still looked pretty good, but under direct sunlight, the imperfections were much more noticeable.
So I set aside an entire day to finally give the FR-S some much-needed attention.
Washing and Decontamination
As with any detailing job, everything starts with a thorough wash.
I broke out my foam gun and Chemical Guys Maxi-Suds shampoo, covering the car in a generous layer of suds before giving it a proper hand wash.
The objective was simple: remove as much dirt and grime as possible before moving on to the more involved work.
After a thorough rinse and drying, the FR-S was looking clean. But running my hand across the paint told a different story.
The surface was rough. Really rough.
That's where the clay bar comes in.
For those unfamiliar, clay bars are used to remove contaminants that have bonded to the paint and can't be removed through a normal wash. Things like industrial fallout and road grime can accumulate over time, leaving the paint feeling rough even when it looks perfectly clean.
And because the FR-S had never been properly detailed before, there was quite a bit of contamination to remove.
Armed with a clay bar and plenty of lubricant, I worked my way around the car, one section at a time. Some areas required multiple passes before the surface finally felt smooth.
It was easily one of the more tedious parts of the entire process, but the difference afterward was immediately noticeable.
With the paint finally clean and smooth, it was time for the actual correction.
Masking and Preparation
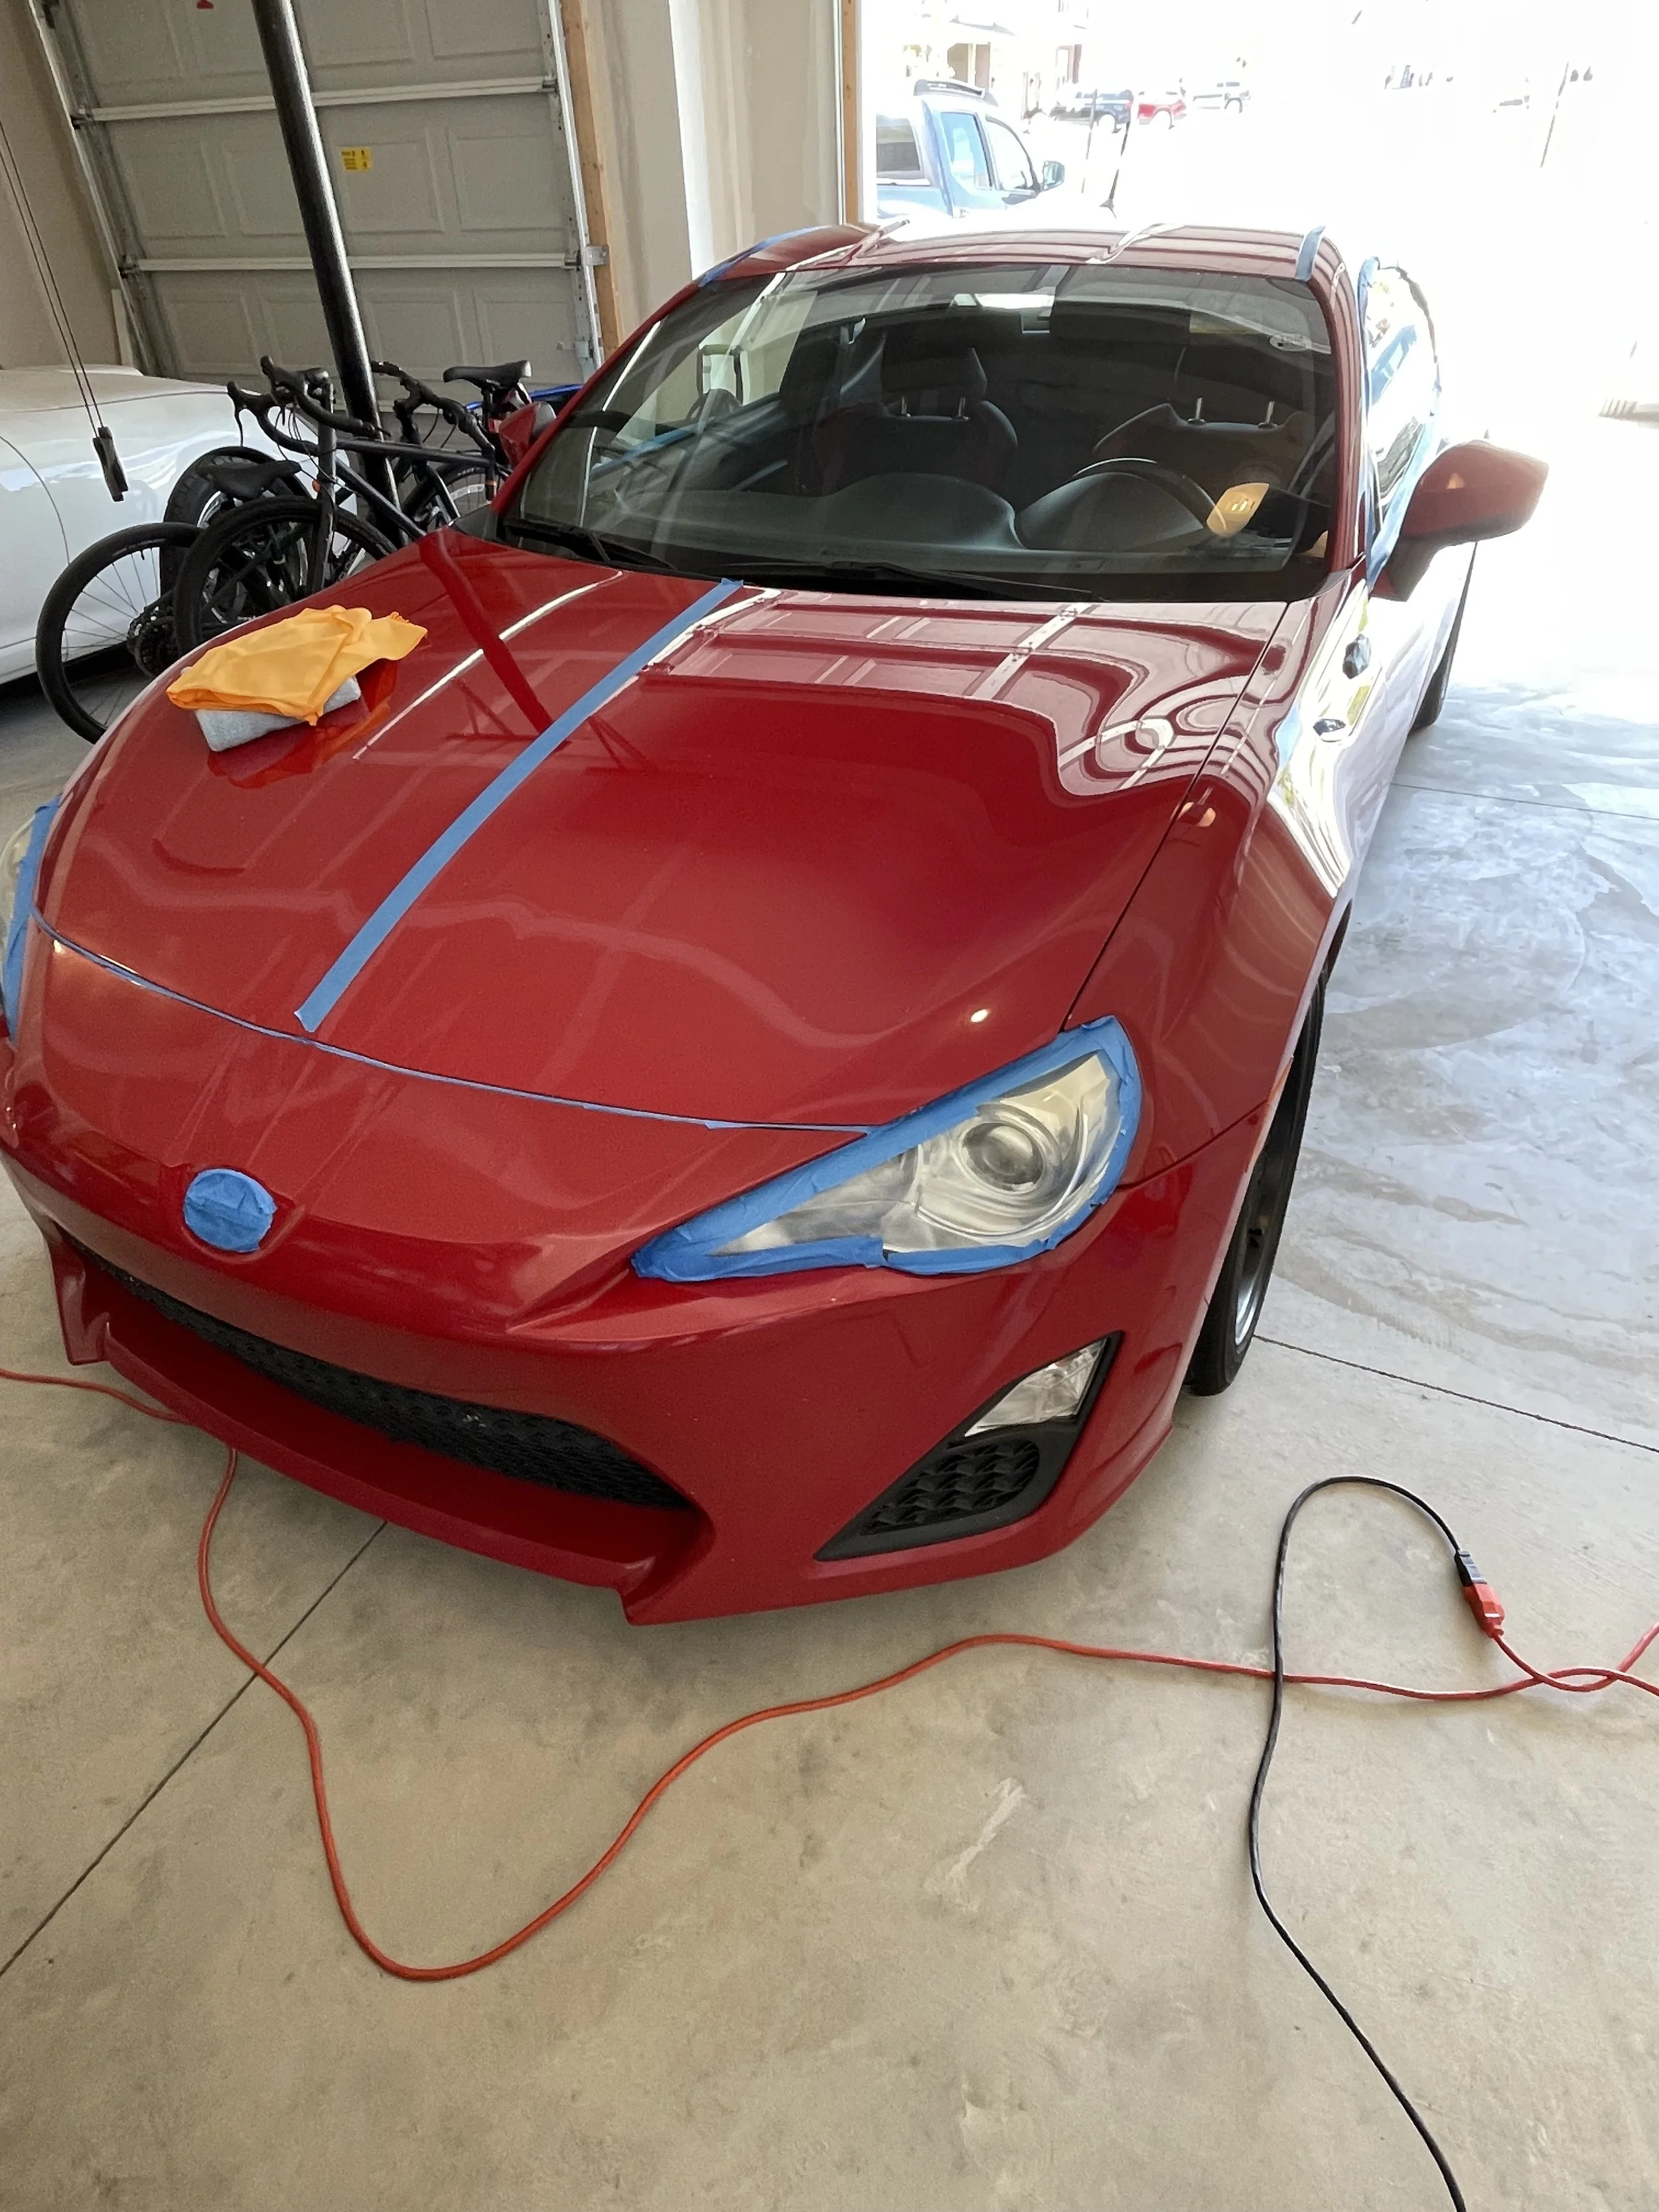
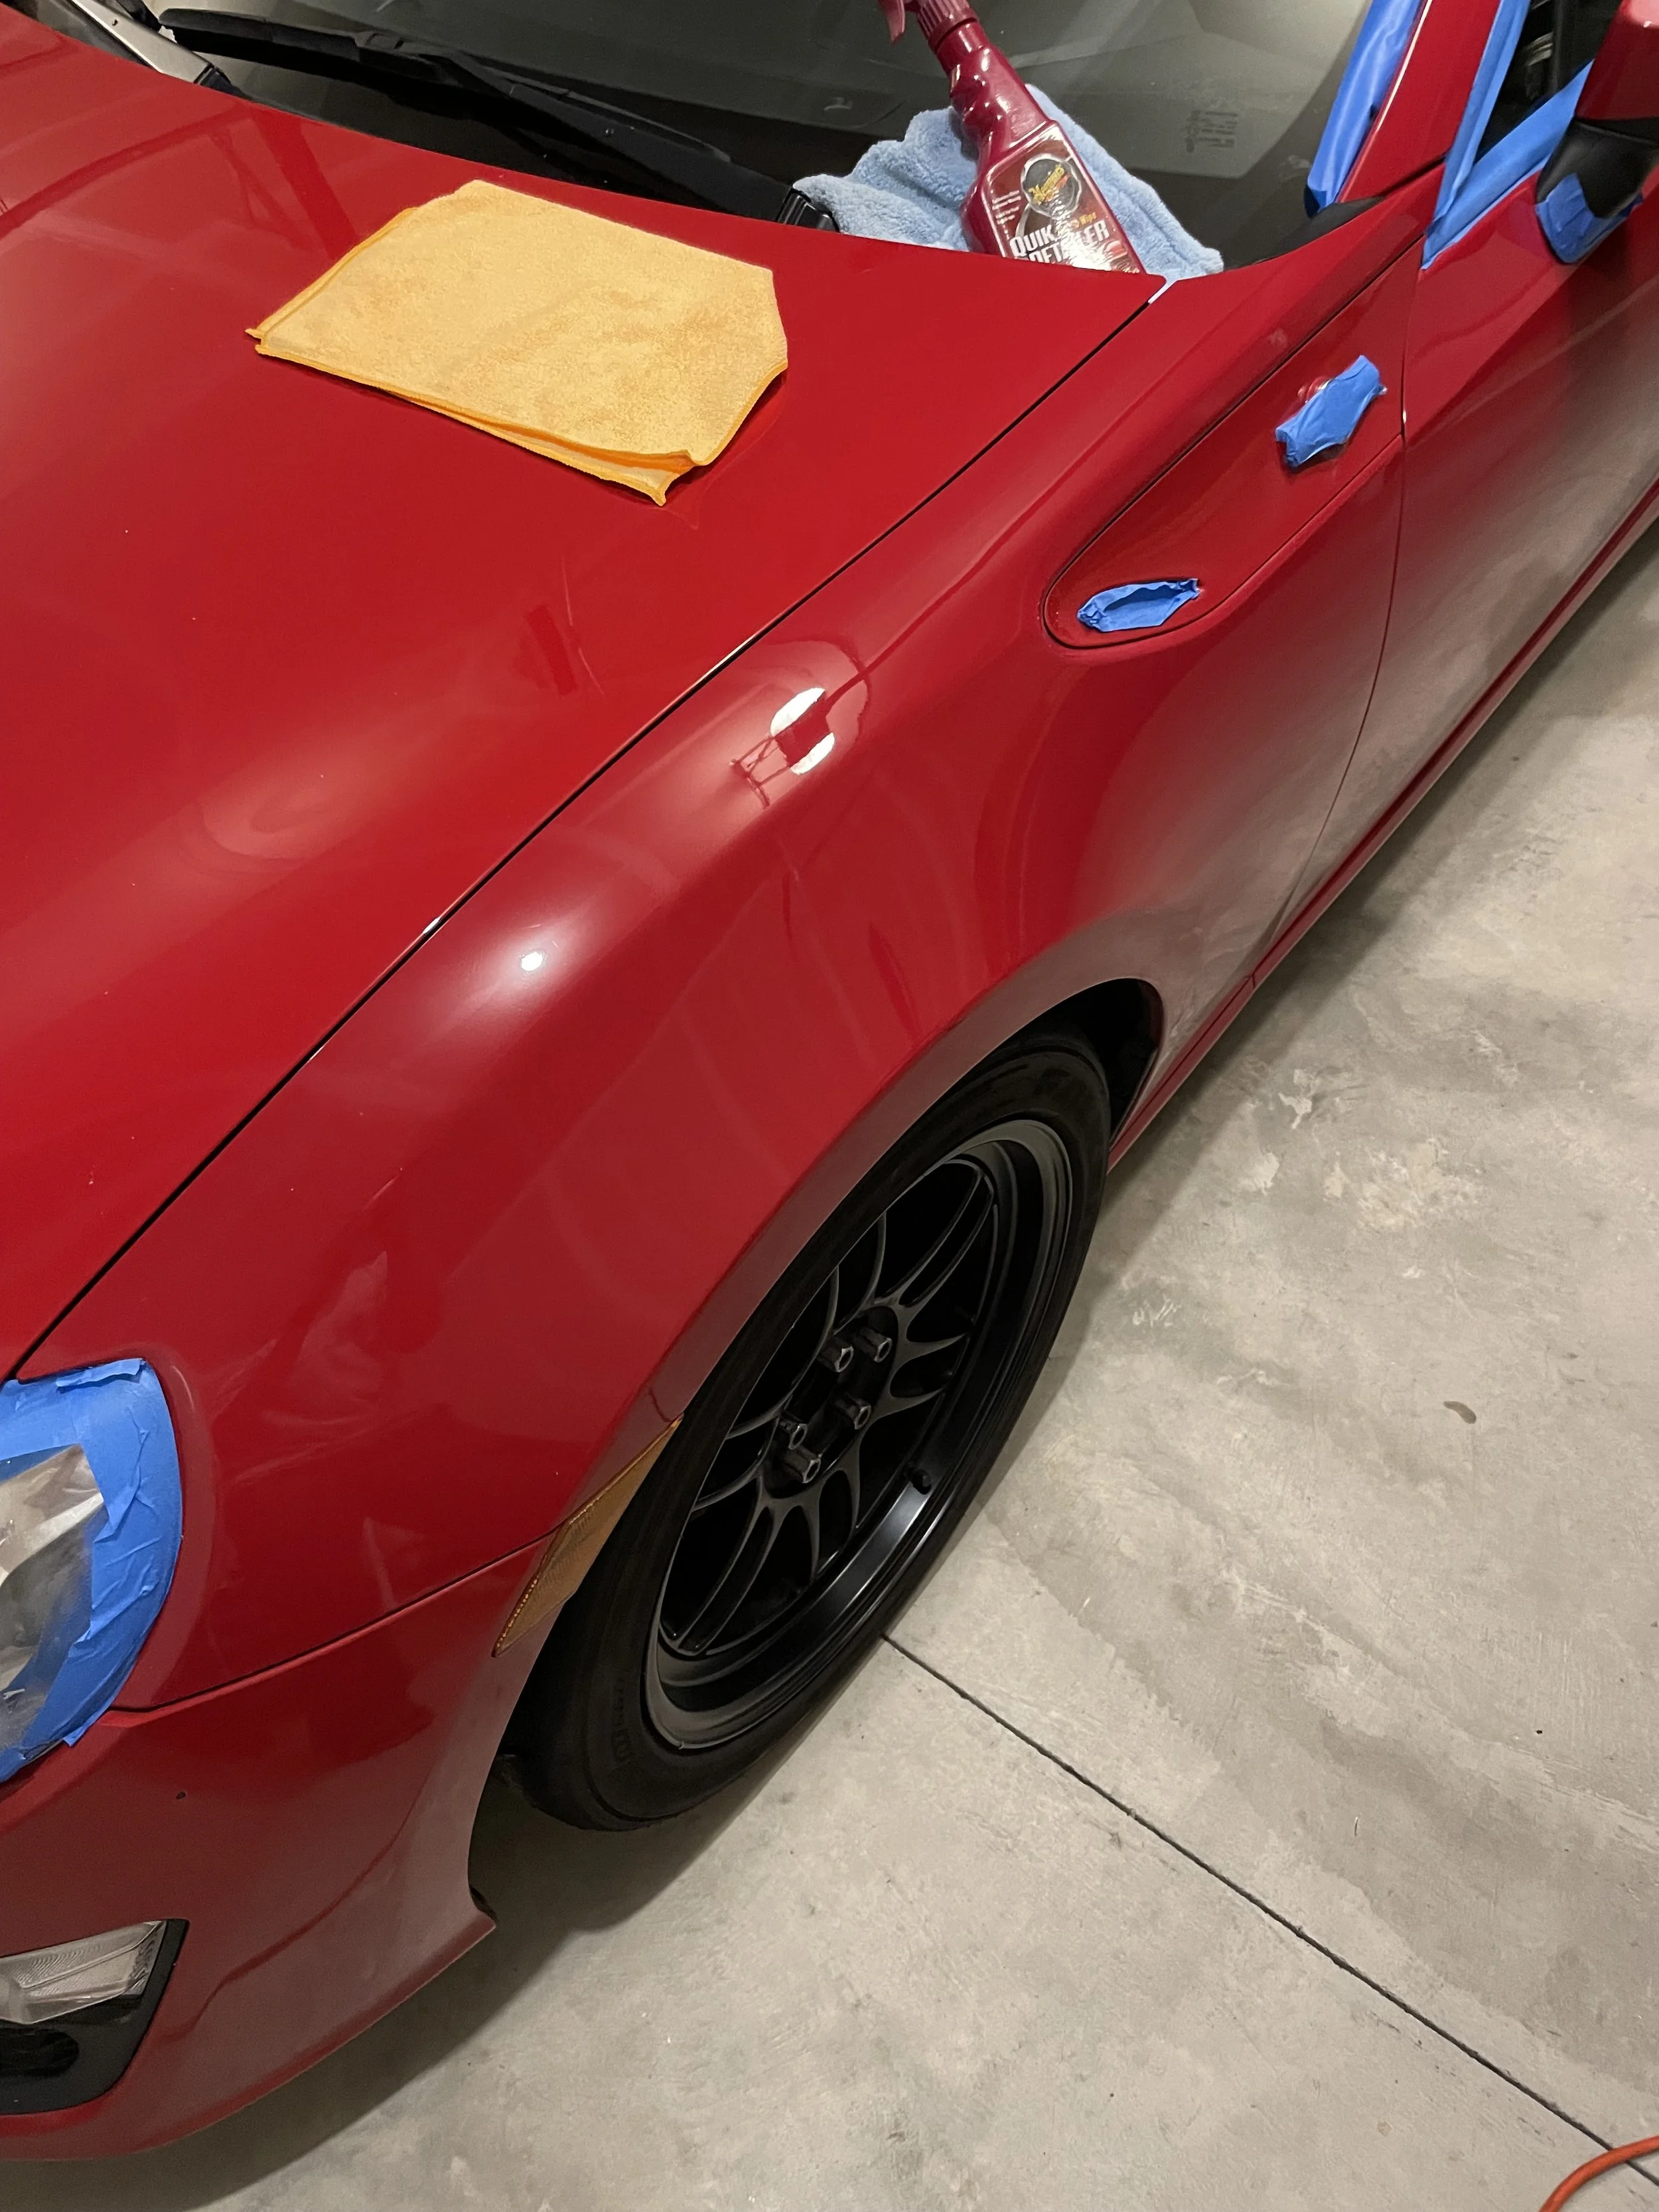
Masked off and ready for correction, with the hood divided for a 50/50 comparison.
Before breaking out the polishers, I spent some time masking off the car with blue painter's tape.
This included protecting the trim, headlights, emblems, and various panel edges. Compounds and polishes can leave stubborn residue on plastic and rubber surfaces, while sharp body lines and edges deserve extra caution since the paint can be thinner in those areas.
I also used the tape to divide larger panels, such as the hood, into smaller, more manageable sections.
This made it easier to concentrate on one area at a time while also allowing for a 50/50 comparison between corrected and uncorrected paint.
There's something particularly satisfying about removing the tape and seeing the difference between the two sides.
Bringing Out the Polishers
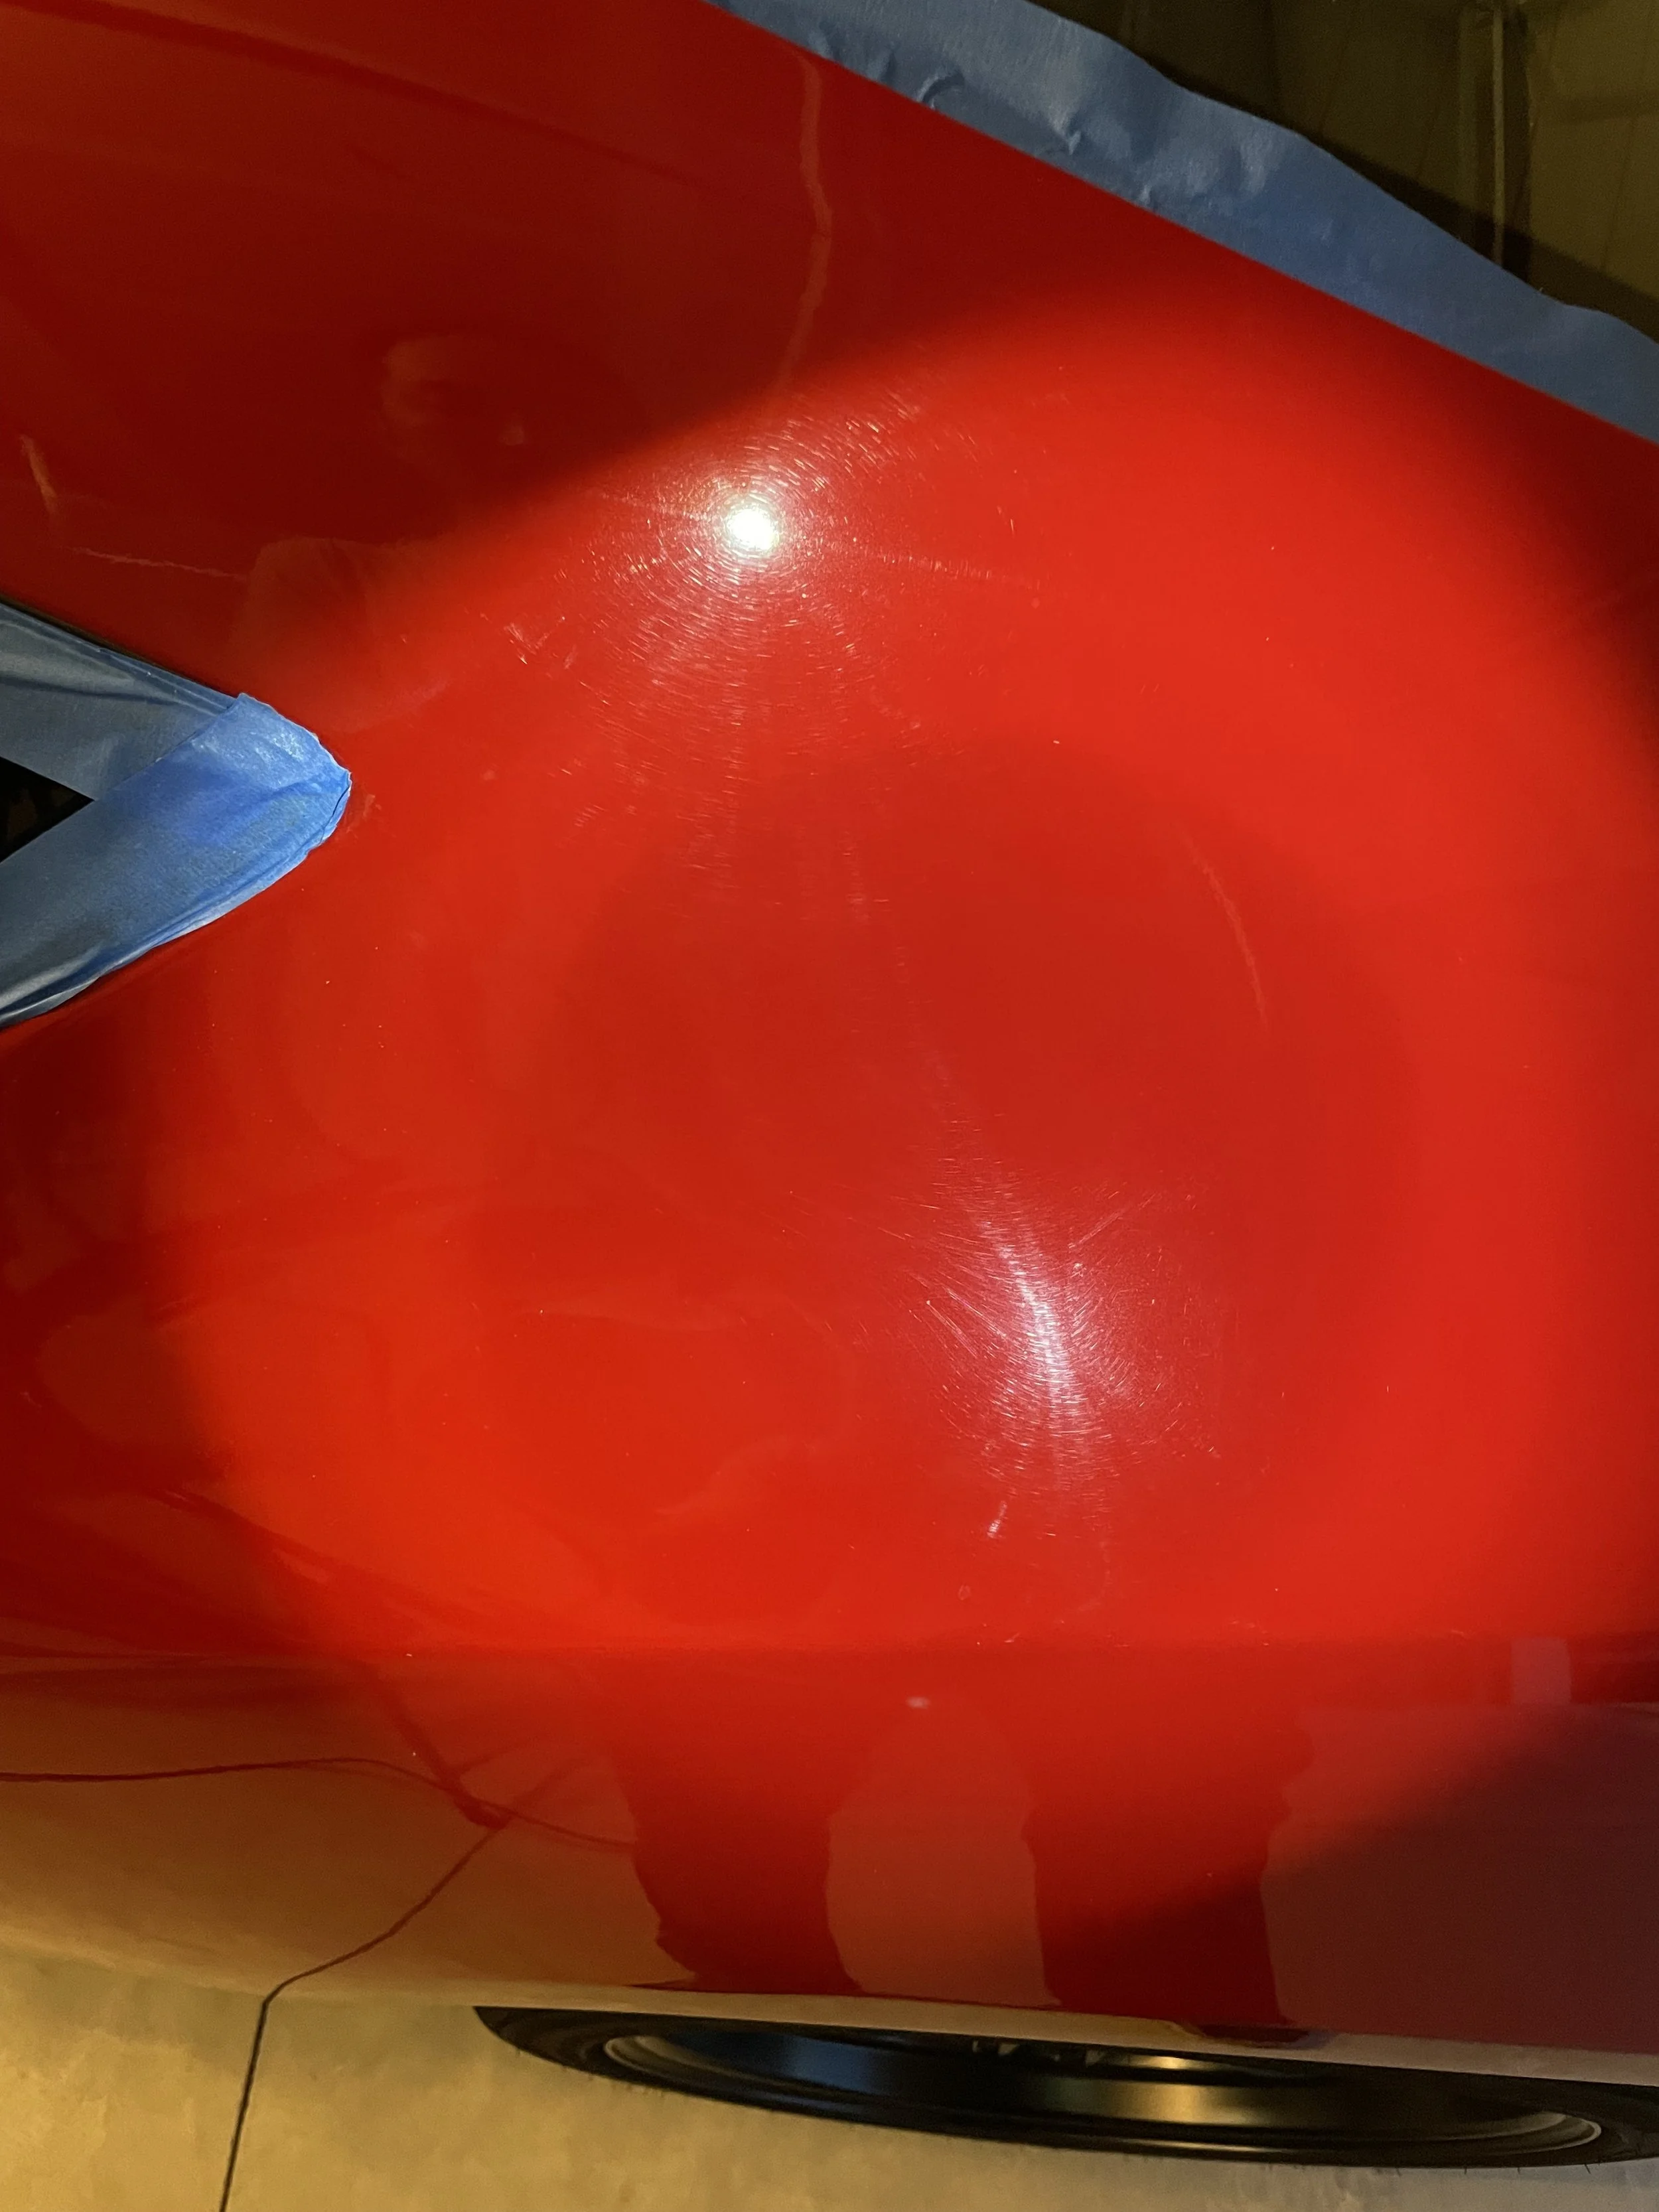
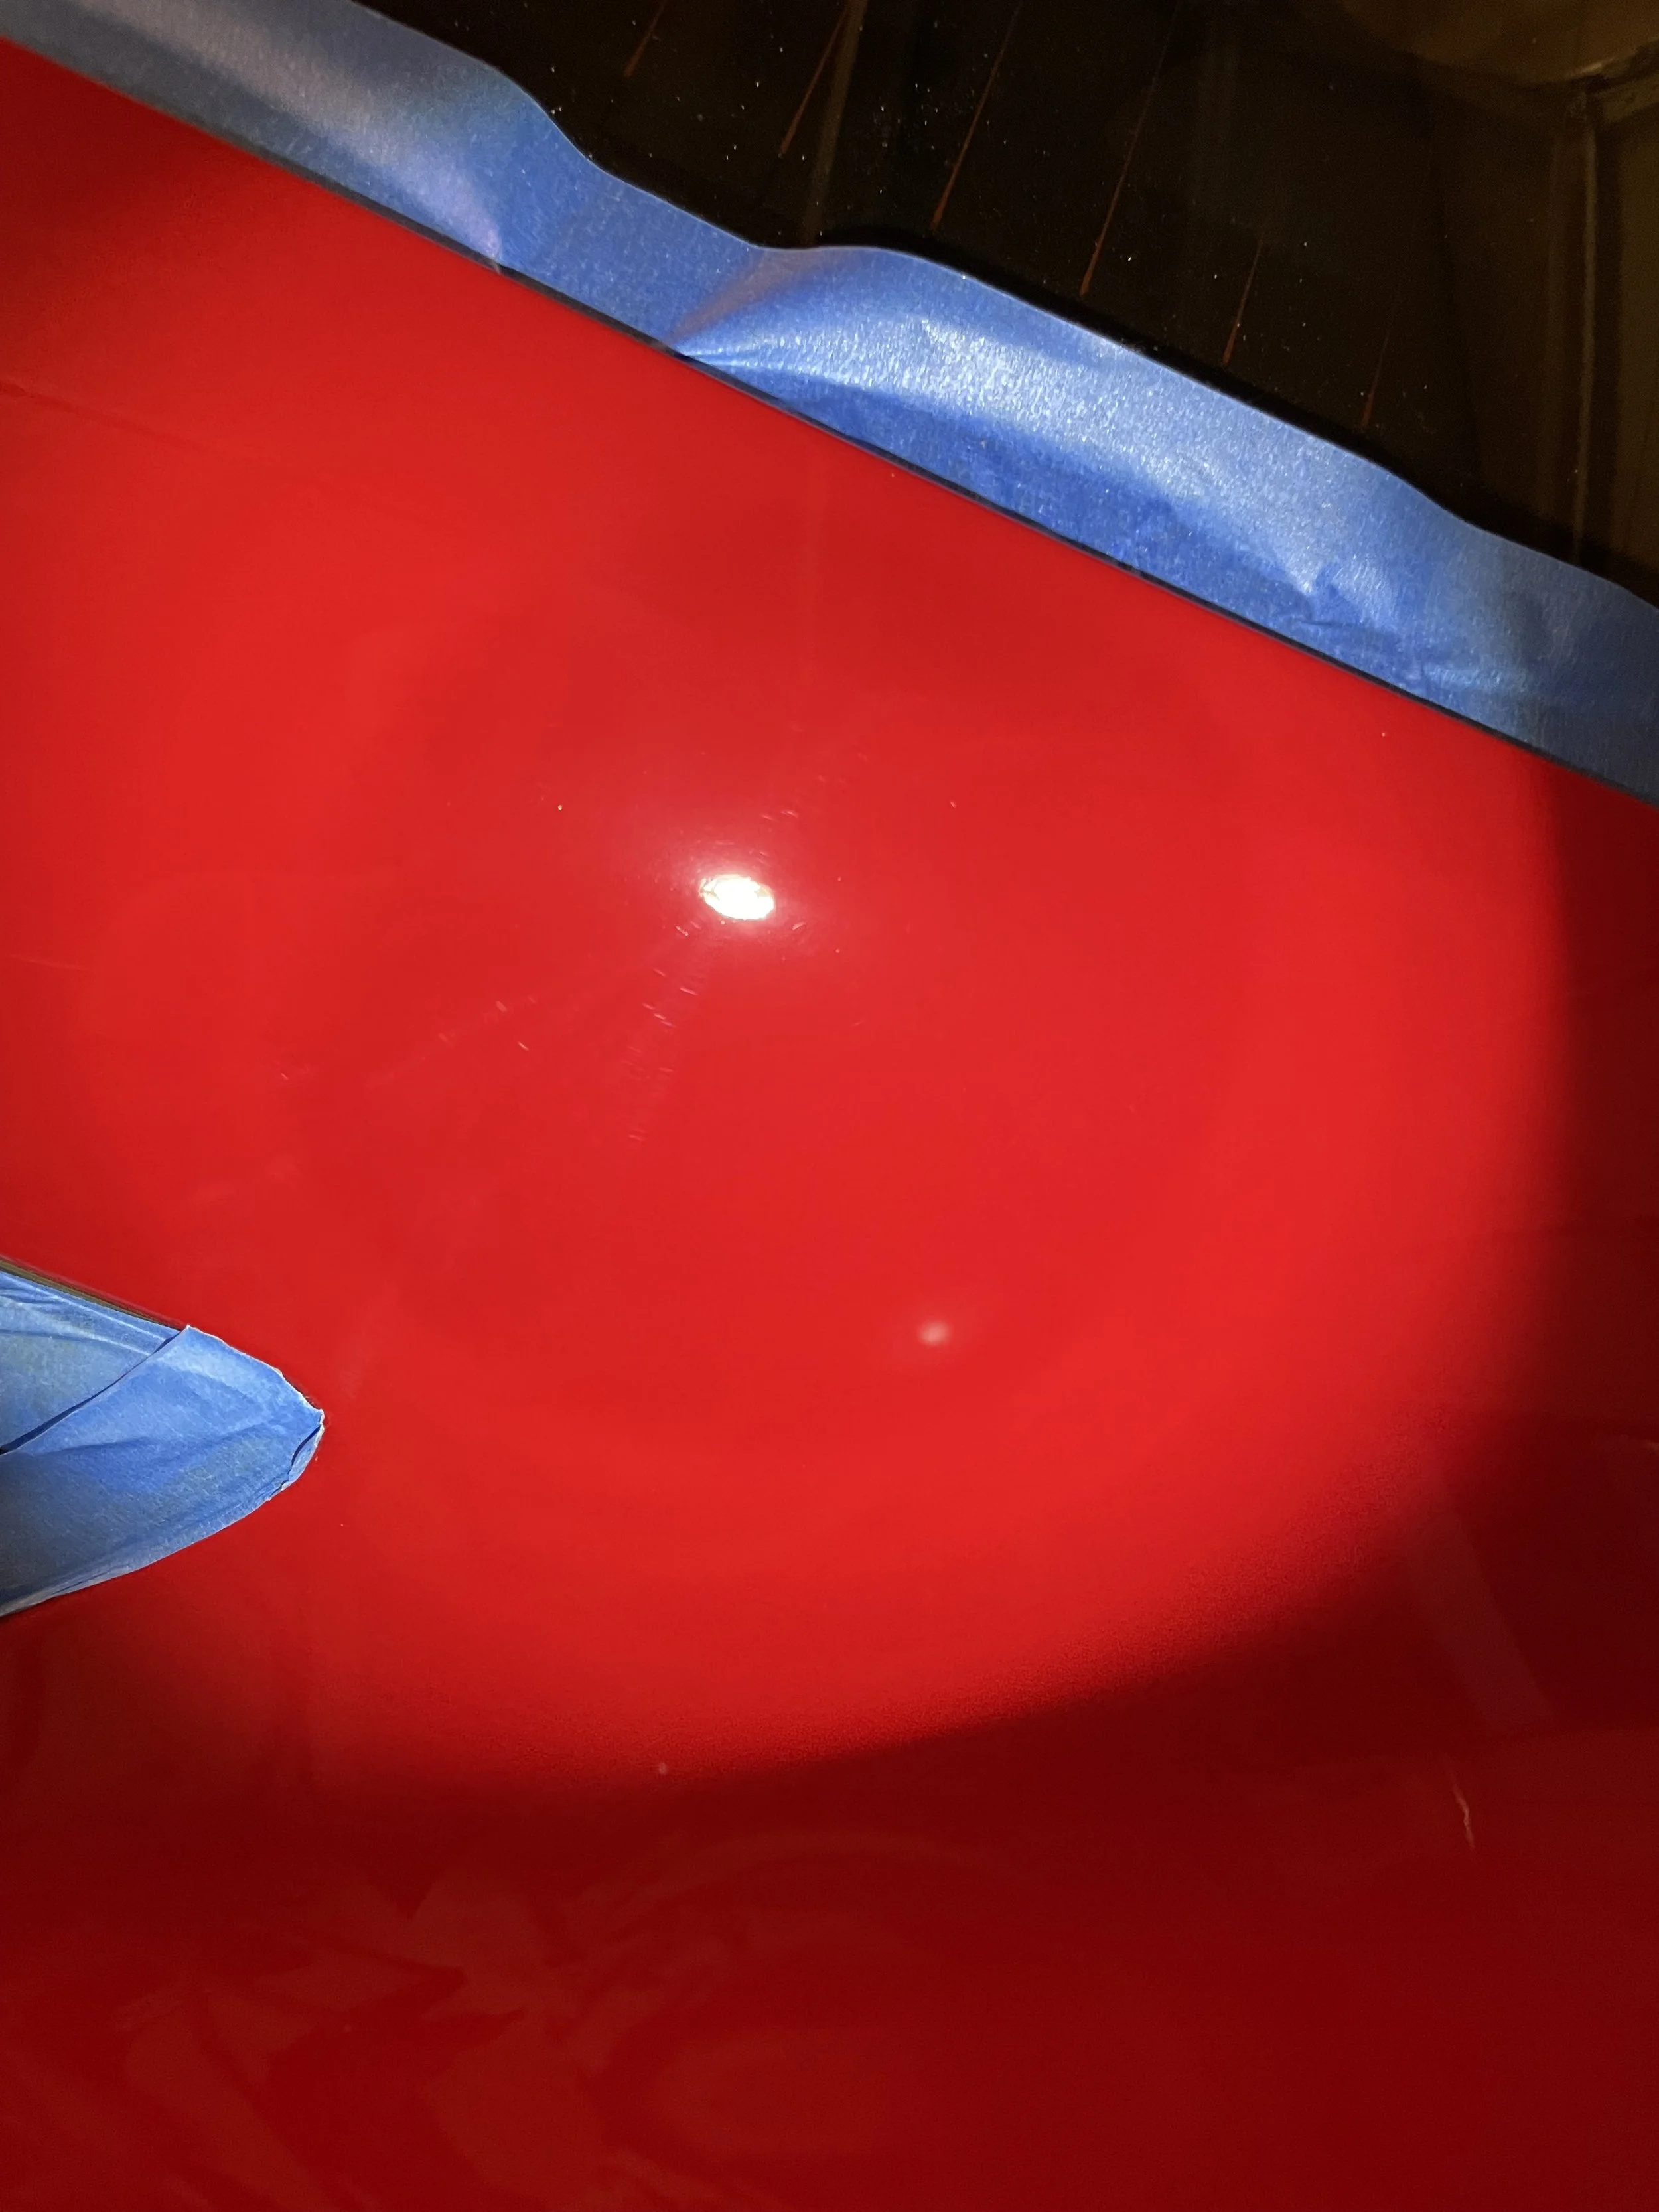
For the paint correction, I went with the tried-and-true combination of Meguiar's M105 Ultra-Cut Compound and M205 Ultra Finishing Polish.
My primary machine was the FLEX XC3401, which I used with various larger polishing pads across most of the body panels. The FLEX is a forced-rotation dual-action polisher, making it particularly effective for correction work.
For smaller, more intricate areas, I used my old Porter Cable 7424 fitted with a 3-inch polishing pad. Having both machines made it easier to work around the different curves and contours of the FR-S.
I started with M105 to address the visible swirl marks and fine scratches that had accumulated over the years.
Unlike waxes or glazes that can temporarily hide imperfections, a cutting compound uses abrasives to level the paint surface, removing a very thin layer of clear coat in the process.
Working one section at a time, I slowly made my way around the car, wiping away the compound residue and inspecting the results as I went.
Under a focused inspection light, the amount of swirling was pretty apparent. But seeing those marks gradually disappear as I worked through each section was probably the most satisfying part of the entire process.
The goal wasn't to achieve a flawless, show-car finish. I simply wanted to remove a good portion of the visible swirl marks and restore some clarity to the paint.
There's also a balance to be struck with paint correction. Since you're removing a small amount of clear coat, there's little sense in aggressively chasing every last scratch.
Once I was satisfied with the compounding, it was time to refine the finish.
Finishing Polish and Paint Protection
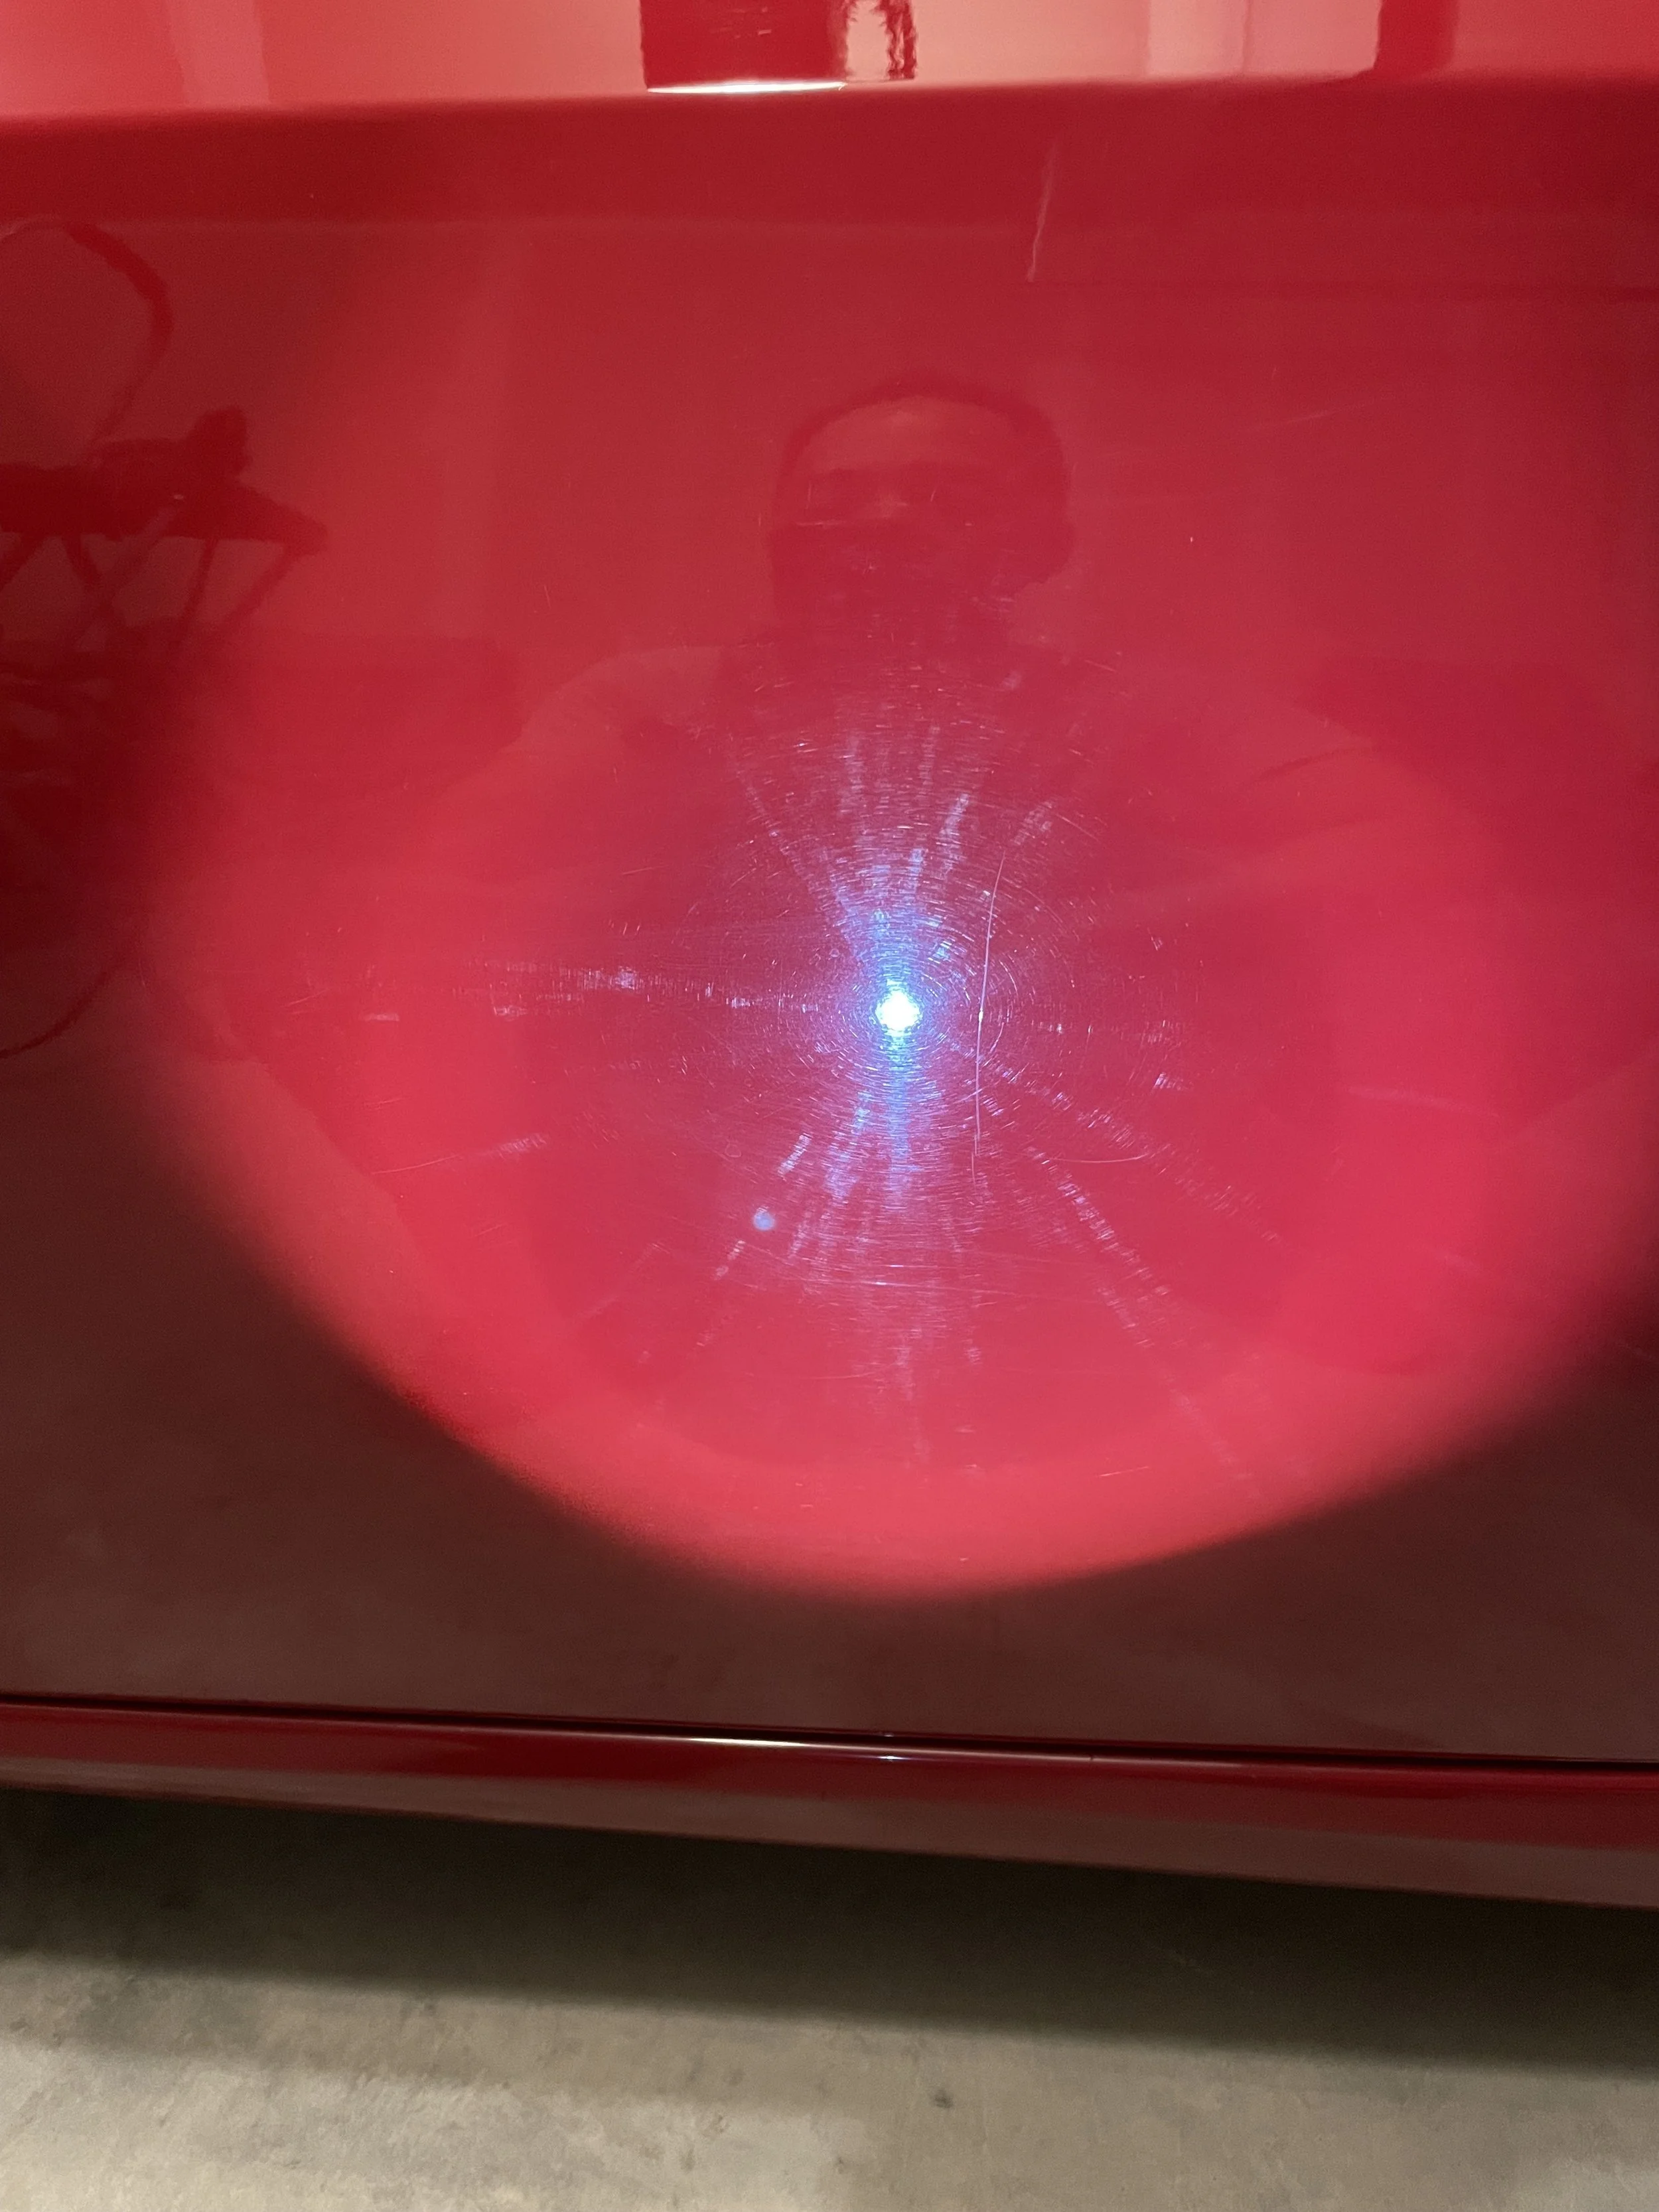
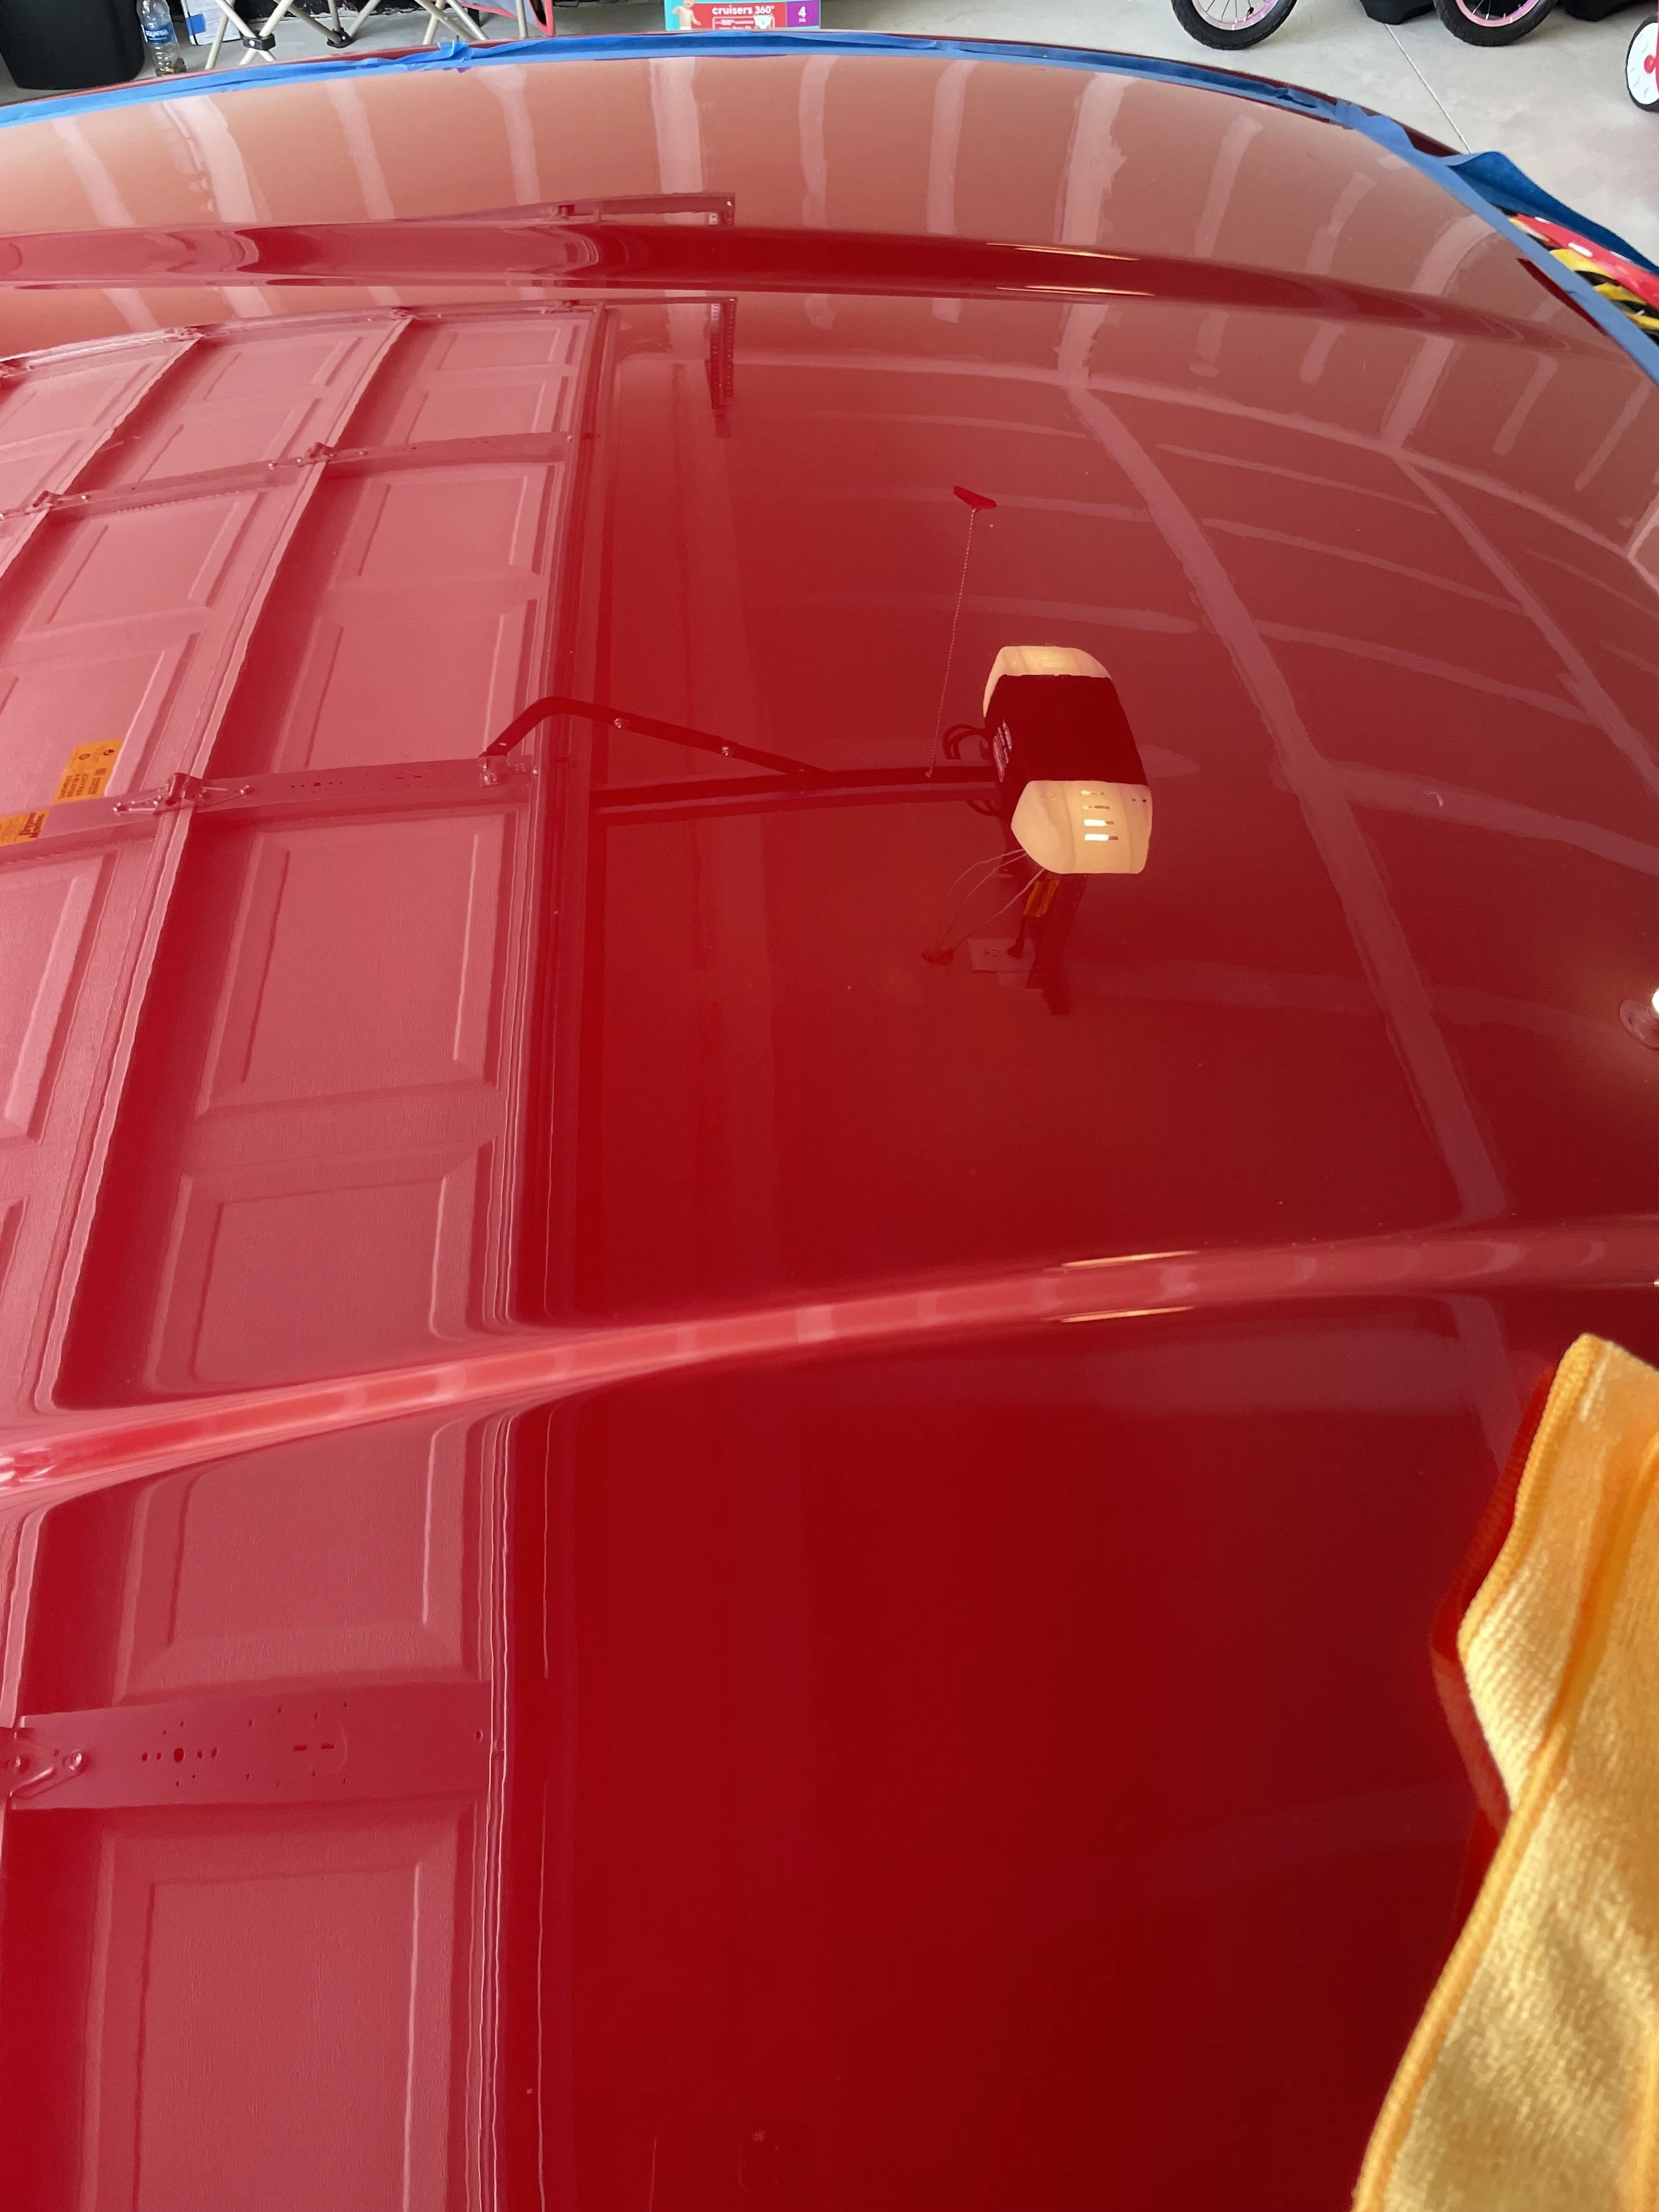
The next step was Meguiar's M205 Ultra Finishing Polish.
While M105 does the heavier lifting, M205 uses finer abrasives to refine the finish, removing any light haze or micro-marring left behind by the compounding process.
Using a less aggressive polishing pad, I worked my way around the car again to bring out the final gloss and clarity.
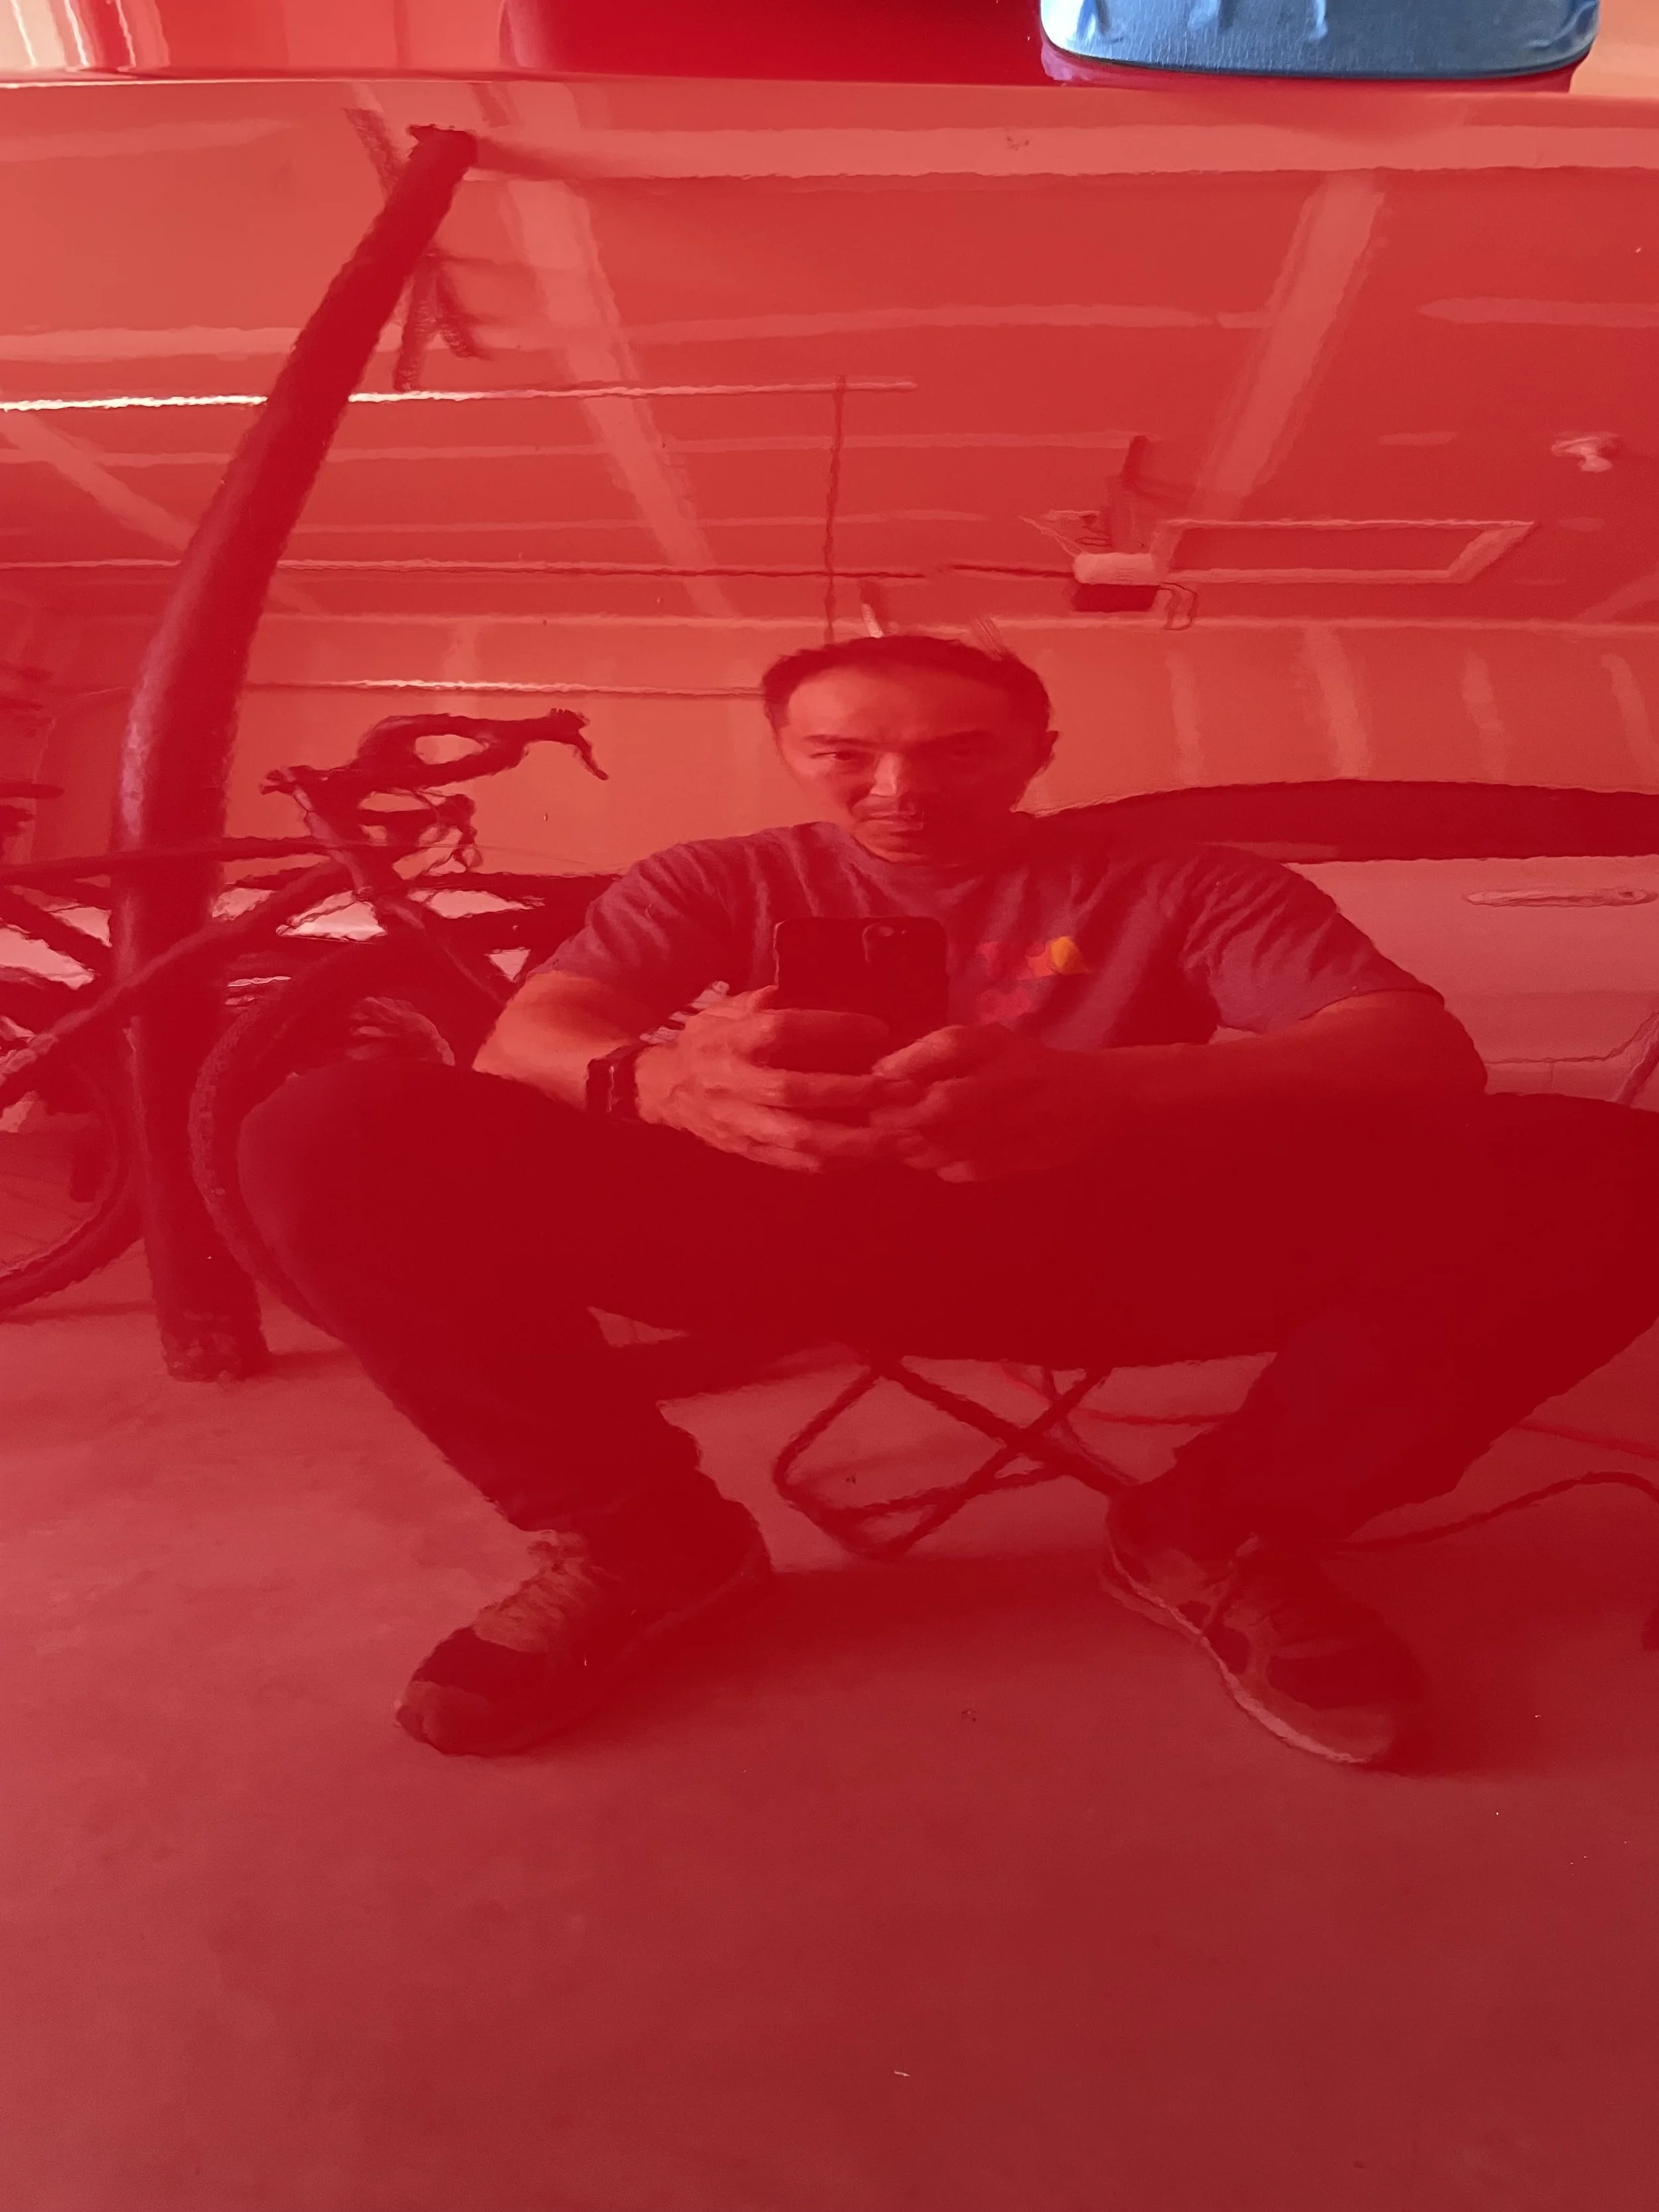
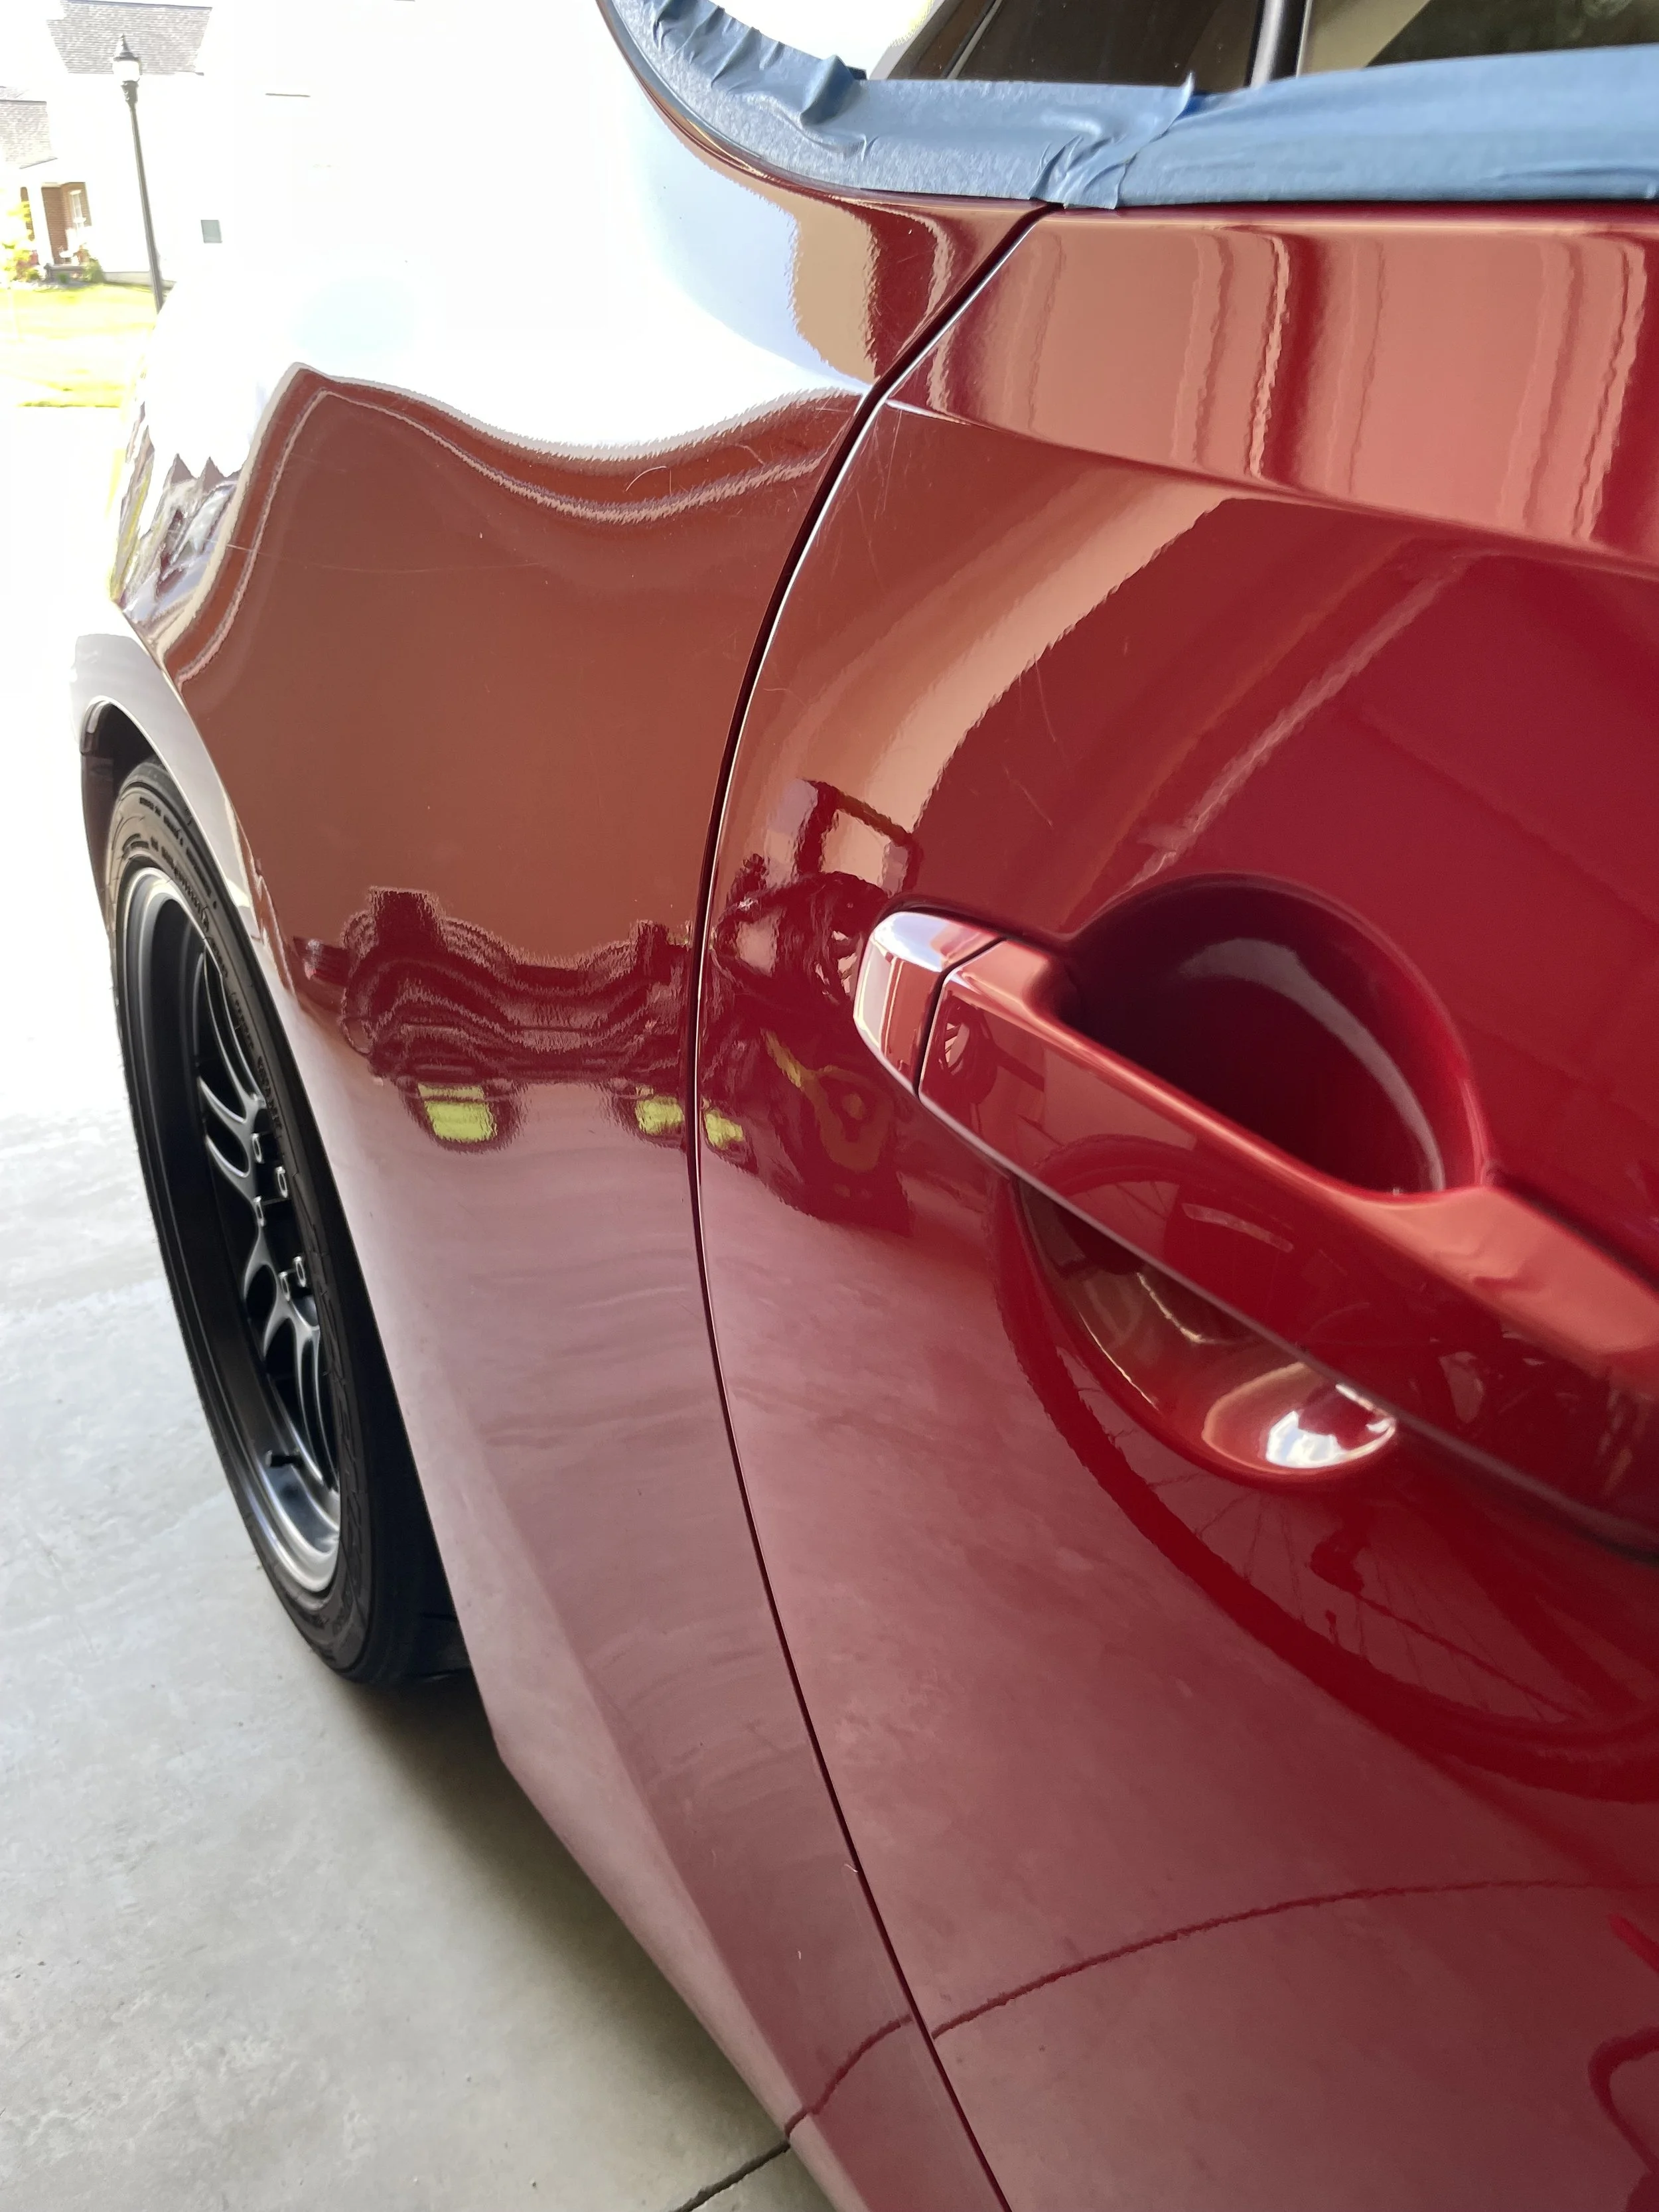
By the time I finished, the paint looked noticeably better. The reflections were sharper, the swirling was significantly reduced, and the finish had regained much of its depth.
To protect all that work, I finished everything off with Blackfire Wet Diamond Paint Sealant.
I've always liked the look and feel of a freshly sealed car, and Blackfire Wet Diamond was one of my preferred products. It provides a slick, glossy finish along with a layer of synthetic paint protection.
After applying a thin, even coat and allowing it to haze, I buffed away the remaining residue with a clean microfiber towel.
And just like that, the job was finished.
A Day Well Spent
By the end of the day, I was pretty tired.
Paint correction is one of those jobs that requires a fair amount of patience. Between washing, claying, masking, compounding, polishing, and sealing, there's certainly no shortage of work involved.
But the results make it worthwhile.
The FR-S looked noticeably better than when I started, with smoother paint, significantly fewer swirl marks, and a much deeper gloss.
It was also nice to revisit something I used to spend a fair amount of time doing in my younger years.
There's a certain satisfaction that comes from taking a tired-looking finish and gradually bringing it back to life, one section at a time.
And after an entire day of work, I could finally stand back and appreciate the results.
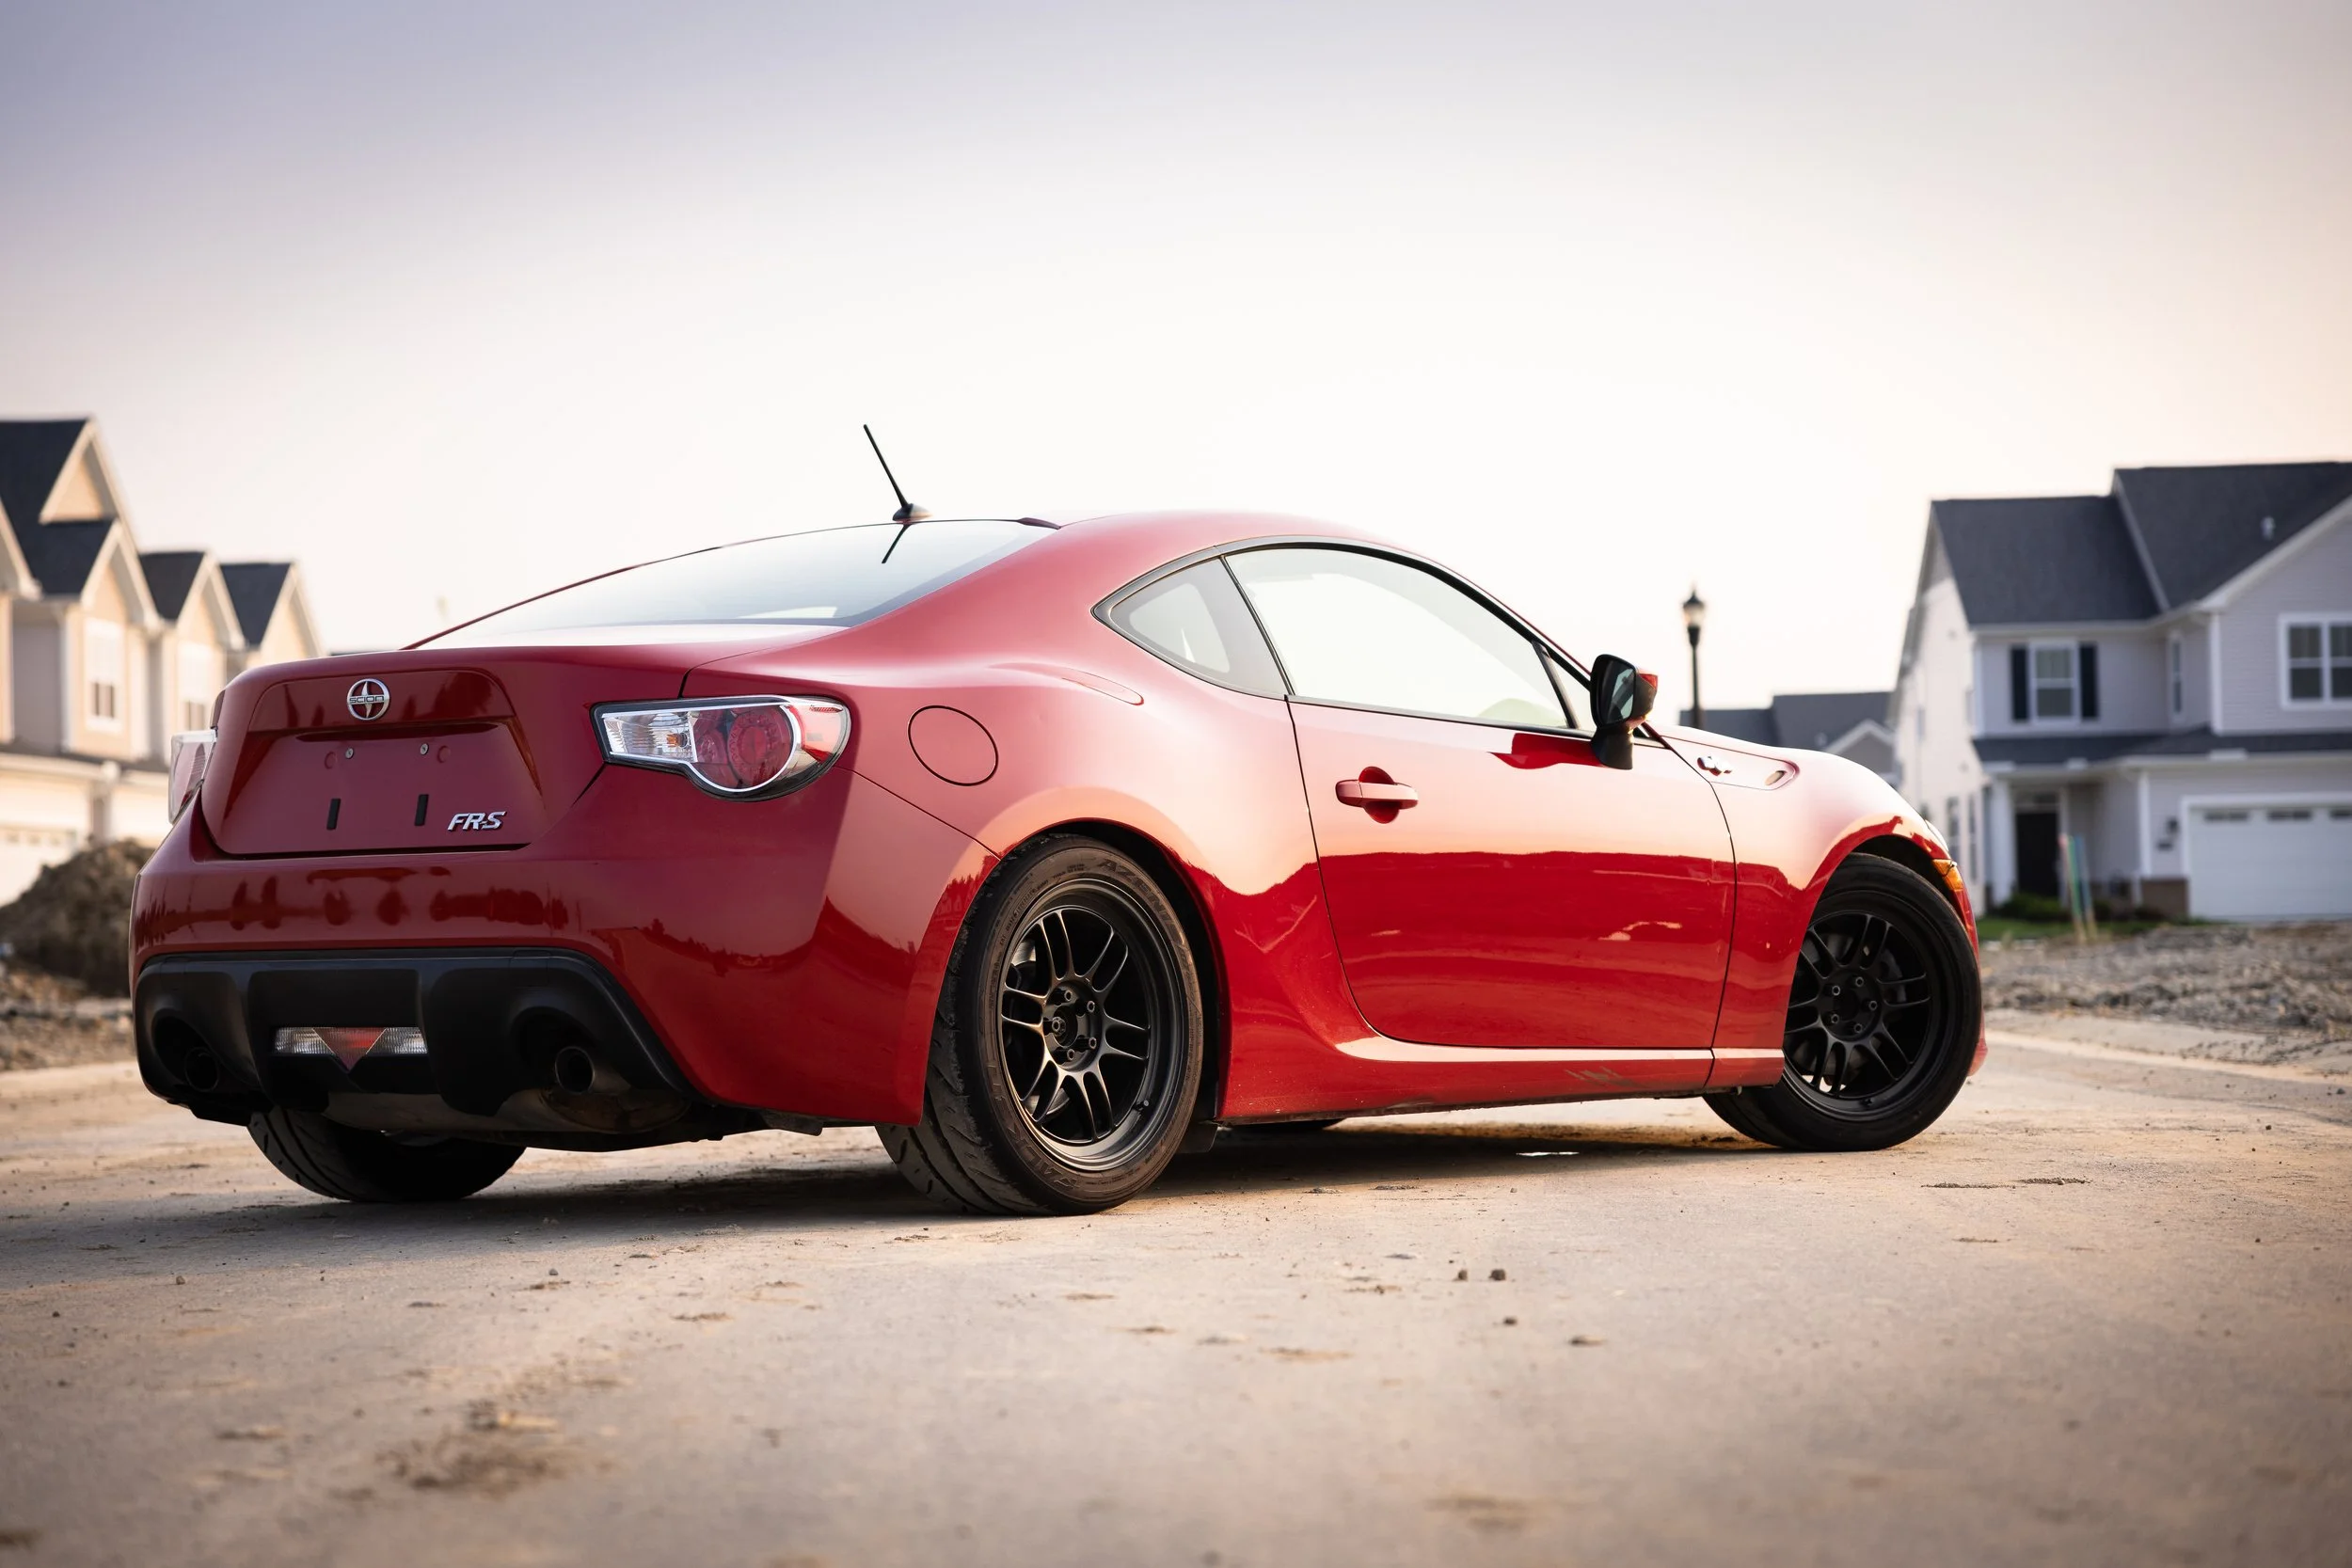
The FR-S looking refreshed, with its red paint shining again. – Image by PB Photo